![]()
Lash extensions offer a glamorous way to enhance your natural beauty, but applying them yourself can seem daunting. While professional application is always recommended for the best results, understanding the basic process can be helpful.
This guide will walk you through the steps involved in applying lash extensions at home, from preparing your lashes to applying individual extensions. We’ll also discuss the importance of safety and hygiene throughout the process.
How to Apply Lash Extensions

Here is a step by step tutorial about how to apply extension lashes in the following:
Disclaimer: Applying lash extensions requires specialized training and practice.
Note: This guide provides a basic overview. Professional lash artists use advanced techniques and specialized tools.
Step 1: Prepare the Area
- Thorough Cleansing: Begin by thoroughly cleansing the client’s face and lashes to remove any oil, makeup, or debris. Oil can significantly interfere with the adhesive bond, causing premature lash extension fallout. Use a gentle, oil-free cleanser and a soft brush to gently remove any residue.
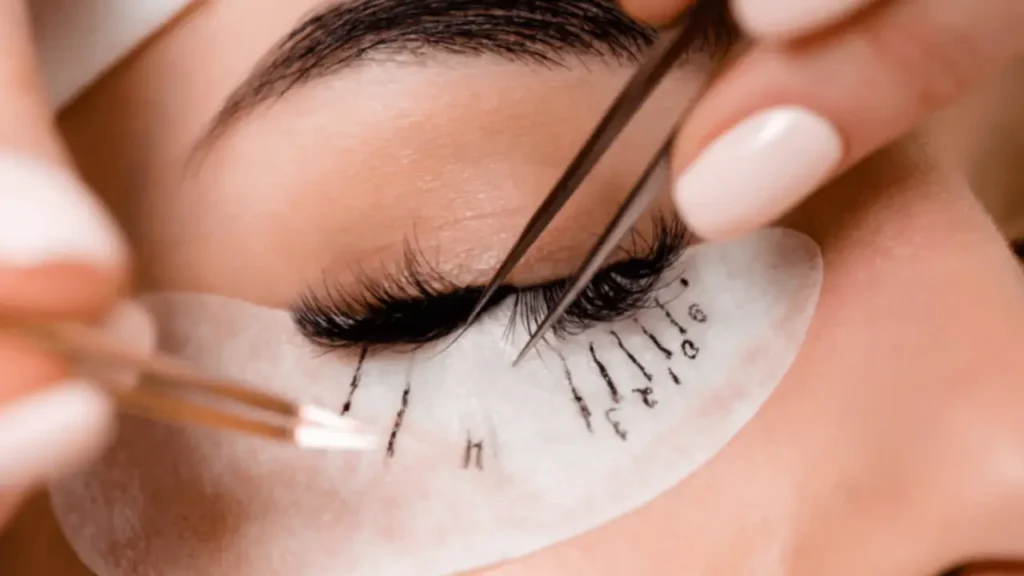
- Under-Eye Protection: Apply under-eye gels or tape below the lower lashes to protect the delicate skin from any adhesive that may accidentally drip during the application process.
- Isolate Individual Lashes: This is a critical step. Use a fine-tipped tweezer to carefully isolate each individual natural lash. This ensures that only one natural lash receives an extension, preventing multiple lashes from sticking together. “Stickies” can cause discomfort, damage natural lashes, and lead to premature extension loss.
Step 2: Select and Prepare Extensions
- Choosing the Right Extensions: Select extensions that match the client’s desired look, considering factors like length, thickness, and curl. Consider the client’s natural lash length and the overall desired effect (e.g., natural, dramatic).
- Prepare the Adhesive: Dispense a small amount of adhesive onto a clean, disposable surface. Ensure the adhesive is fresh and has not expired. Check the adhesive for proper consistency and apply it to the extension using a controlled, steady hand.
Step 3: Apply the Extensions
- Dip and Apply: Dip the base of the lash extension into the adhesive, ensuring it’s evenly coated. Avoid overloading the extension with adhesive, as this can lead to clumping and discomfort. Carefully place the extension on top of the isolated natural lash, as close to the base as possible.
- Secure the Bond: Gently press the extension against the natural lash for a few seconds to ensure a secure bond. Avoid excessive pressure, as this can damage the natural lash.
- Maintain Consistency: Continue applying extensions one by one, working systematically from the outer corner of the eye inward. This helps maintain consistency and ensures even coverage.
Step 4: Check for Adhesion and Correct Any Issues
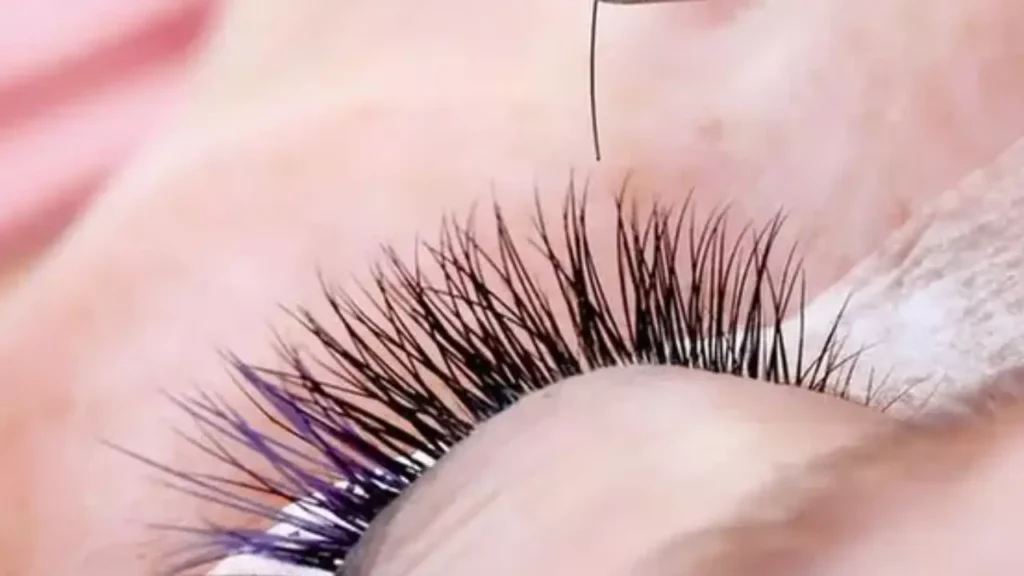
- Inspect for “Stickies”: Carefully inspect the lash line for any “stickies” – instances where multiple lashes are glued together. Gently separate them using a fine-tipped tweezer.
- Remove Excess Adhesive: Gently remove any excess adhesive with a clean, damp cotton swab. Be cautious not to disturb the bonded extensions.
Step 5: Final Touches
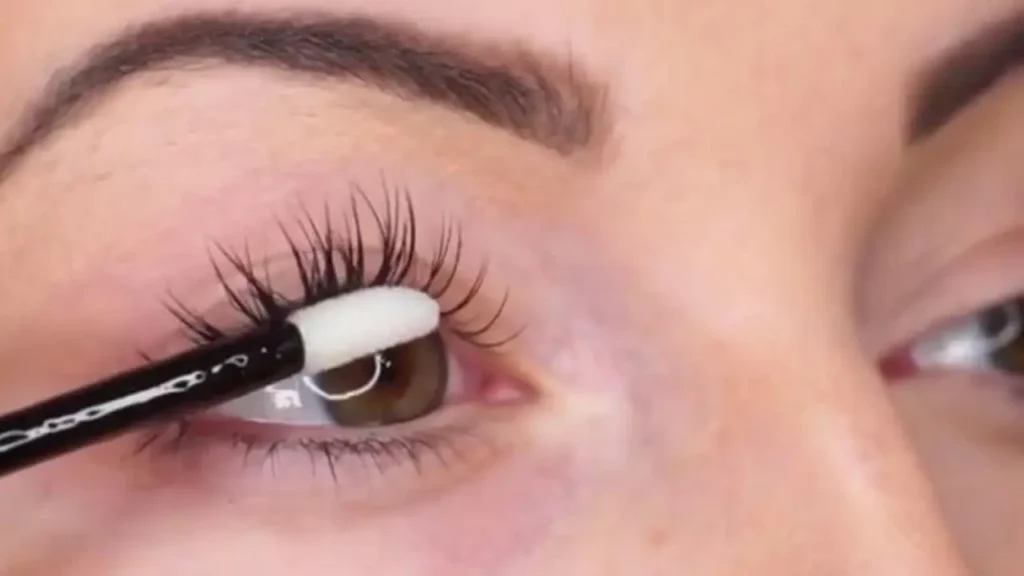
- Fan and Separate: Use a clean spoolie brush to gently fan out and separate the extensions. This helps to achieve a natural, fluffy look and prevents clumping.
- Check for Comfort: Ensure the client is comfortable and that there are no signs of irritation or discomfort.
- Final Inspection: Perform a final inspection to ensure all extensions are securely bonded and there are no “stickies” or other issues.
How to Do Lash Extensions at Home

Disclaimer:
- Applying lash extensions at home can be challenging and requires practice.
- Improper application can damage your natural lashes and cause eye irritation.
- It is highly recommended to have lash extensions professionally applied by a qualified lash artist.
If you choose to attempt DIY lash extensions, proceed with extreme caution:
Step 1: Gather Your Supplies
- Individual lash extensions: Choose the appropriate length, thickness, and curl for your desired look.
- Lash adhesive: Use a high-quality lash adhesive specifically designed for individual lash extensions.
- Tweezers: A fine-tipped tweezer is essential for isolating natural lashes and applying extensions.
- Microbrushes: Small microbrushes are helpful for applying adhesive and separating lashes.
- Under-eye gels or tape: Protect the delicate under-eye area from any adhesive that may drip.
- Magnifying mirror: A magnifying mirror can help you see your lashes more clearly.
- Cleansing solution: Gently cleanse your lashes with an oil-free cleanser before application.
Step 2: Prepare Your Workspace
- Clean and Sterile: Ensure your workspace is clean and free from dust or debris.
- Good Lighting: Have adequate lighting to ensure clear visibility.
Step 3: Isolate and Apply
- Isolate a Single Lash: Use your tweezers to carefully isolate one of your natural lashes.
- Apply Adhesive: Dip the base of the lash extension into the adhesive.
- Place the Extension: Gently place the extension on top of the isolated natural lash, as close to the base as possible.
- Secure the Bond: Hold the extension in place for a few seconds to allow the adhesive to set.
- Repeat: Continue applying extensions one by one, working systematically across your lash line.
Step 4: Check and Adjust
- Inspect for “Stickies”: Carefully check for any “stickies” (multiple lashes glued together). Gently separate them with your tweezers.
- Remove Excess Adhesive: Gently remove any excess adhesive with a clean, damp swab.
Step 5: Final Touches
- Fan and Separate: Use a clean spoolie brush to gently fan out and separate the extensions.
- Check for Comfort: Ensure the extensions are comfortable and not causing any irritation.
Important Notes:
- Start Slowly: Begin with a few extensions and gradually increase the number as you gain confidence.
- Practice Makes Perfect: Applying lash extensions takes practice and patience.
- Safety First: If you experience any discomfort or irritation, stop the application immediately.
Tips for Applying Lash Extensions

Mastering the art of lash extension application takes practice and precision. Here are some valuable tips to help you improve your technique and achieve stunning results:
Practice Makes Perfect:
- Start with a lash mannequin head to practice isolation and application techniques.
- Begin with easier lash styles (like classic lashes) and gradually increase complexity.
Proper Isolation is Key:
- Isolating individual natural lashes is crucial.
- Use a fine-tipped tweezer to carefully separate each lash before applying the extension.
- This prevents “stickies” (multiple lashes glued together) and ensures optimal adhesion.
Control the Adhesive:
- Use a small amount of adhesive on each extension.
- Avoid overloading the extension with glue, as this can lead to clumping and discomfort for the client.
- Ensure the adhesive is fresh and has the correct consistency.
Maintain Consistent Pressure:
- Apply gentle and consistent pressure when attaching the extension to the natural lash.
- Avoid excessive pressure, as this can damage the natural lash.
Check for “Stickies” Frequently:
- Regularly inspect the lash line for any “stickies” during the application process.
- Gently separate any stuck lashes using a fine-tipped tweezer.
Maintain a Clean Workspace:
- Keep your workspace clean and organized.
- Use sterile tools and practice proper hygiene to prevent infection.
Client Comfort:
- Ensure the client is comfortable throughout the application process.
- Communicate with the client and address any concerns they may have.
Continuous Learning:
Stay updated on the latest lash extension techniques and products by attending workshops and continuing your education.
Where to Apply Lash Extensions
Lash extensions should be applied by a qualified and experienced lash technician at a reputable salon or spa.
Here’s why:
- Safety: Proper application requires specialized training and knowledge to avoid eye irritation, infection, and damage to your natural lashes.
- Quality: Experienced technicians use high-quality products and techniques to ensure safe and long-lasting results.
- Customization: A professional can help you choose the right style, length, and curl of extensions to suit your individual needs and preferences.
To find a qualified lash technician:
- Ask for recommendations: Ask friends, family, or colleagues for recommendations.
- Read online reviews: Check online reviews on platforms like Google, Yelp, and social media.
- Look for certifications: Many reputable lash technicians have certifications from recognized training institutions.
- Schedule a consultation: Schedule a consultation with a few different lash technicians to discuss your expectations and compare their services.
By choosing a qualified professional, you can ensure that your lash extension experience is safe, and comfortable, and results in beautiful, long-lasting results.
Conclusion
Applying lash extensions requires precision and practice. While DIY application is possible, it’s highly recommended to seek professional help from a qualified lash artist.
Ready to experience the magic of professionally applied lash extensions?
Schedule your appointment today and let our skilled technicians enhance your natural beauty with stunning, long-lasting results.
