![]()
It can allow you to achieve stunning lash extensions at your own home. how do you know what are the best DIY lash extensions?
we’ll delve into the world of DIY lash extensions, exploring the best techniques, products, and practices to help you achieve stunning results. Whether you’re a beginner or an experienced enthusiast, this guide is designed to elevate your lash game to the next level.
What Are Diy Lash Extensions?
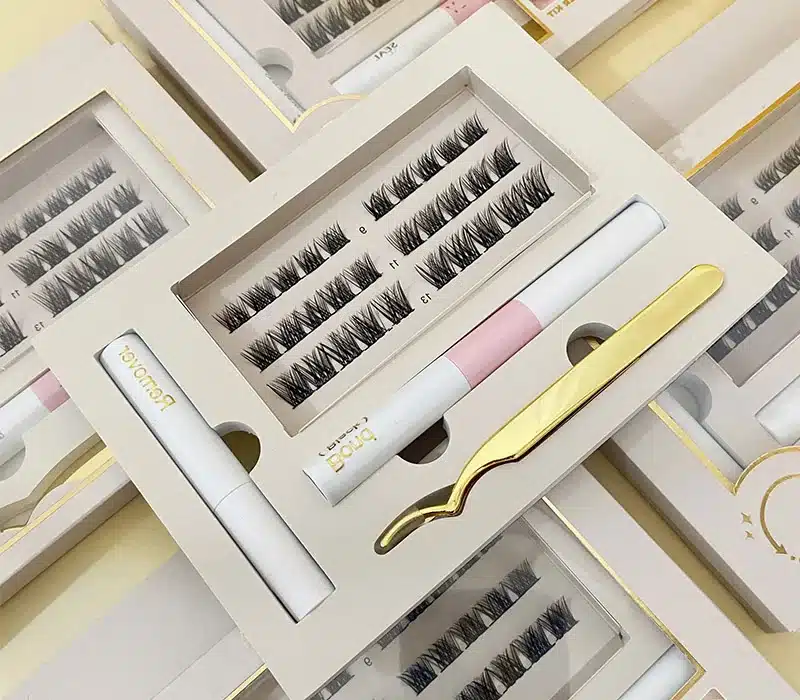
Diy Lash Extensions or At Home Lash Extensions are purely handmade new false eyelashes, Lash extensions are synthetic fibers attached to natural lashes using adhesive to enhance length, curl, and thickness.
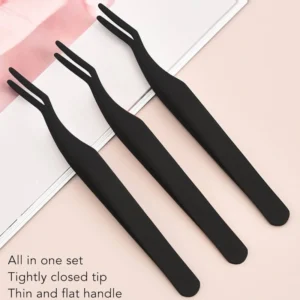
It comes with tweezers, bond, sealant, and cleaning gel oil for ease of use.
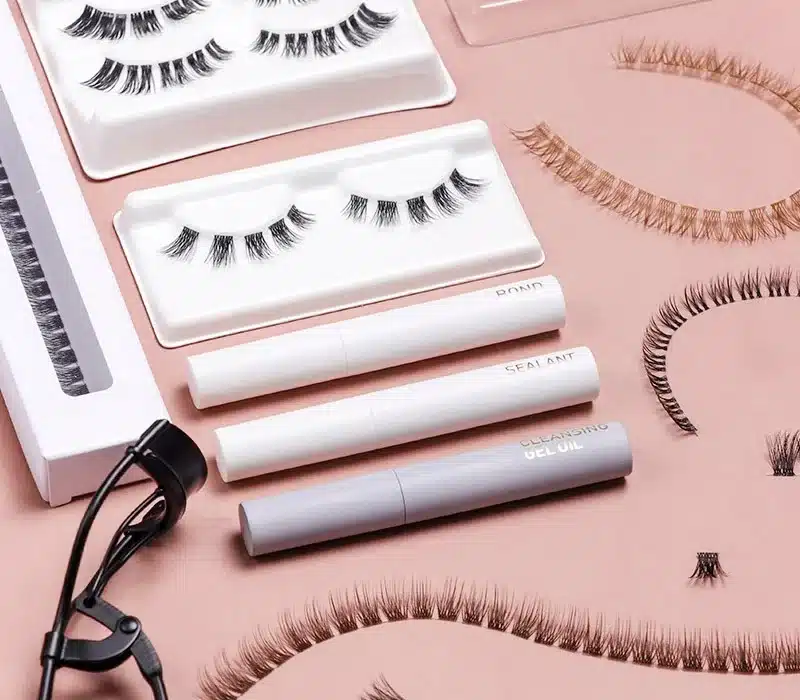
How to DIY Eyelash Extensions, Step-by-Step
Step 1: Cleanse
Prep your lashes by using Pre-Cleanse to clean off any leftover makeup or oils
Step 2: Bond
Add a light coat of Dual-Sided Bond and wait 30 seconds to a minute, then repeat one more time
Step 3: Mark
Add dots of about 1mm-2mm above the waterline to mark where to apply your lashes
Step 4: Grab the lashes
Use the wand or your fingers to gently grab the lashes
Step 5: Place lashes
Once bond has dried clear and becomes tacky, use the wand to place the lash on the waterline leaving at least 2mm of space between the lash and your waterline (you’ll want to be able to see your natural lashes still)
Step 6: Fuse
Use the curved end of the Fuse Control Wand to clamp down then release to fuse the lashes
Step 7: Seal
Once all lashes are applied, seal with Glass by applying to the underside lash at the root
Different Types of DIY Lash Extensions
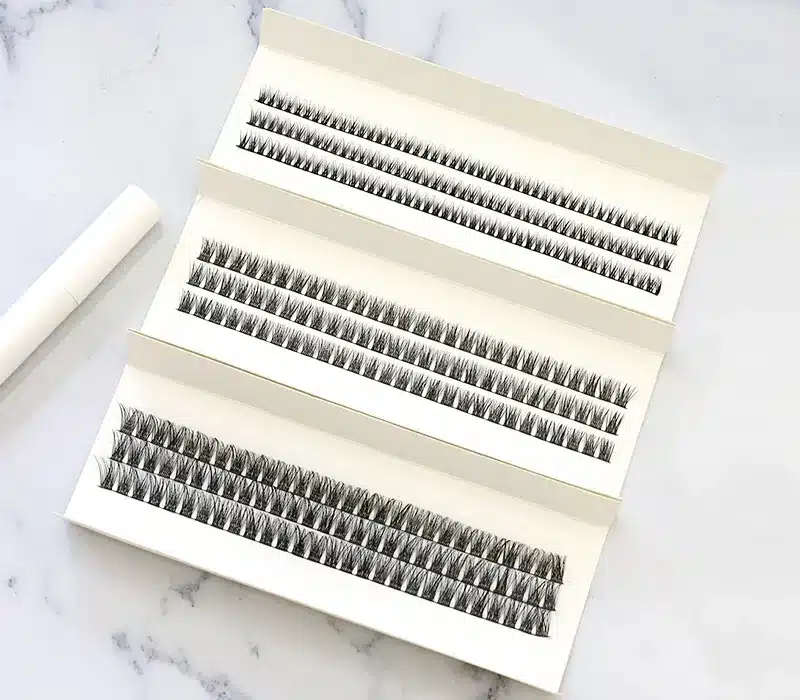
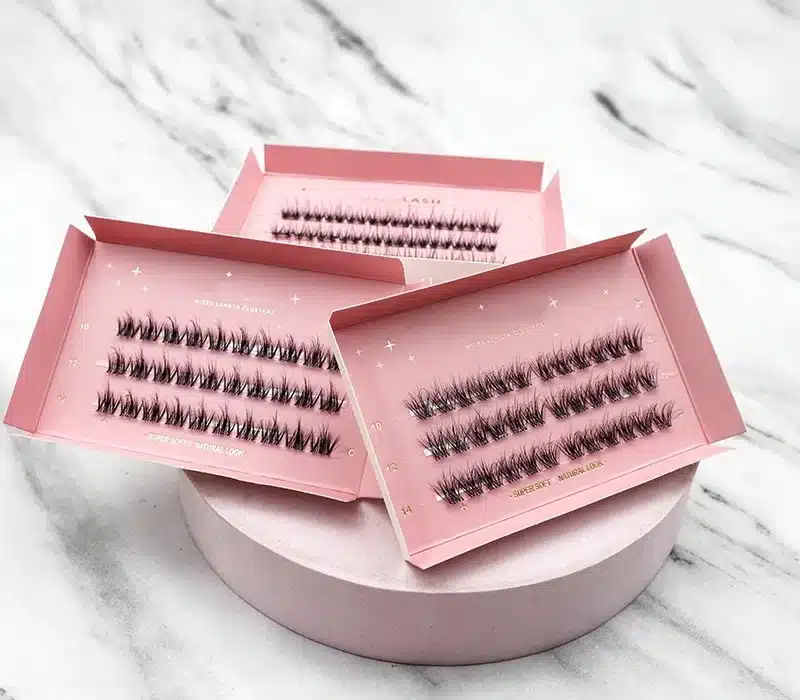
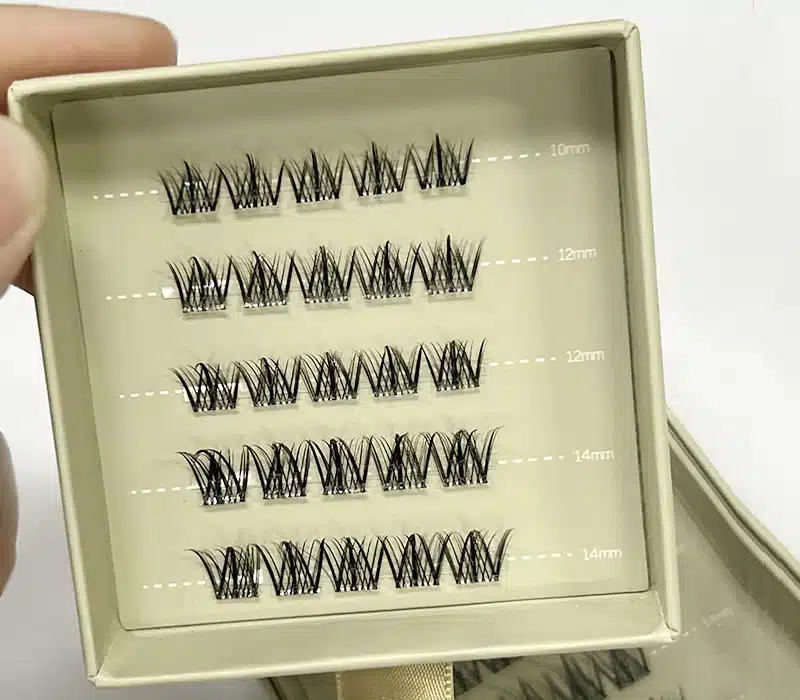
Individual Lashes: These are single lash fibers that you attach to your natural lashes one by one. They provide a natural look and allow for customization in terms of length and volume.
Strip Lashes: These are pre-made strips of lashes that you apply directly to your eyelid using adhesive. They come in various styles, from natural to dramatic, and are easy to apply for a quick lash boost.
Cluster Lashes: Cluster lashes are small bunches of lashes that are grouped together. They can be applied along your lash line to add volume and fullness quickly.
Magnetic Lashes: These lashes have tiny magnets along the lash line that adhere to another set of magnetic lashes placed above and below your natural lashes. They offer a reusable option without the need for glue.
DIY Lash Lift: While not exactly extensions, a lash lift is a process that enhances your natural lashes by lifting and curling them. You can find DIY lash lift kits that include everything you need to achieve the look at home.
12 BENEFITS OF DIY NATURAL EYELASH EXTENSIONS
Convenience:
Doing your lashes at home removes the hassle of appointments and travel. Lashify offers a subscription model for refills, making it even easier to maintain.
Price:
While the initial investment may seem high, DIY extensions prove cost-effective over time compared to single-use strip lashes or frequent salon visits.
Safety:
DIY kits reduce the risk of eye infections associated with toxic adhesives used in professional settings. Lashify products are non-toxic, enhancing safety.
Highly Customizable:
DIY extensions allow for total control over lash style and application, offering a wide range of options compared to rigid strip lashes.
Independence:
Applying your own extensions empowers you and eliminates the need for external assistance, fostering a sense of self-sufficiency and pride.
Less Makeup:
Extensions reduce reliance on mascara and eyeliner, saving time and potentially benefiting eye health by minimizing exposure to makeup and removers.
Reusable:
Properly cared for, DIY extensions can be worn for up to 10 days and reused for months, unlike single-use strip lashes or professionally applied extensions.
Comfortable:
DIY extensions like Gossamers are lightweight and comfortable to wear, contrasting with the discomfort often associated with other lash options.
Protect Your Natural Lashes:
DIY extensions prioritize the health of your natural lashes by avoiding damaging chemicals and weight that can lead to lash loss.
Amazing Appearance:
DIY extensions offer stunning results that can be customized to achieve natural or glamorous looks, enhancing your overall appearance.
Longevity:
DIY lash extensions can last up to 10 days with proper care, providing a longer-lasting solution compared to strip lashes that typically need to be replaced daily. This longevity saves both time and money in the long run.
Versatility:
DIY extensions offer versatility in terms of style, allowing you to change your lash look as often as you like without the commitment of salon appointments. With a wide range of styles and lengths available, you can switch up your look to suit any occasion or mood.
Choosing the Right Products and Tools
How long do DIY lash extensions last?
The longevity of DIY lash extensions hinges on various factors, including the quality of materials, application technique, aftercare practices, and individual lash growth cycle.
Quality of Materials:
High-quality lash extensions and adhesive play a pivotal role in determining their longevity. Opting for premium materials ensures better adhesion and durability, prolonging the lifespan of your DIY lash extensions.
Application Technique:
How DIY lash extensions are applied significantly impacts their lifespan. Proper technique, including precise placement and adequate adhesive application, enhances retention and prevents premature shedding.
Aftercare Practices:
Consistent maintenance and proper aftercare are essential for preserving the lifespan of DIY lash extensions. Gentle cleansing, avoiding oil-based products, and refraining from excessive rubbing or pulling on the lashes are key practices to extend their longevity.
Individual Lash Growth Cycle:
Every individual has a unique lash growth cycle, influencing how long DIY lash extensions last. Understanding your natural lash shedding cycle can help you anticipate when to schedule touch-ups for seamless maintenance.
Maximizing the Longevity of DIY Lash Extensions
Gentle Cleansing Routine:
Implementing a gentle cleansing routine is crucial for keeping DIY lash extensions clean and pristine. Use a specialized lash cleanser and a soft brush to remove debris and maintain optimal hygiene without compromising adhesive bond.
Avoiding Oil-Based Products:
Oil-based skincare products can compromise the adhesive bond of DIY lash extensions, leading to premature shedding. Opt for oil-free alternatives to preserve the longevity of your lashes and ensure secure adhesion.
Protective Measures During Activities:
Engaging in activities such as swimming, saunas, or intense workouts can impact the longevity of DIY lash extensions. Take precautionary measures such as wearing goggles or using a sweatband to shield lashes from excessive moisture and friction.
Regular Maintenance and Touch-Ups:
Scheduling regular maintenance appointments and touch-ups is essential for extending the lifespan of DIY lash extensions. Addressing any gaps or areas of shedding promptly ensures a continuous, voluminous lash look.
Proper Sleeping Habits:
Avoid sleeping on your face or pressing your lashes against pillows to prevent friction and premature shedding. Opt for silk or satin pillowcases to minimize friction and maintain the integrity of your DIY lash extensions.
Conclusion
In conclusion, DIY lash extensions offer convenience, customization, and safety. They last up to 10 days with proper care. Gentle cleansing and avoiding oil-based products are key. Regular touch-ups maintain volume. Protect lashes during activities.

