How to Put on Lashes Cluster: A Step-by-Step Guide
Applying lashes clusters is a great way to enhance your natural lashes with added volume and length. These pre-bonded groups of lashes are easy to apply and create a dramatic or natural look, depending on your preference. Follow these six simple steps to apply your lashes clusters using lash bond glue for a flawless, long-lasting result.
Step 1: Prepare Your Natural Lashes
Before applying any lashes, it’s essential to ensure your natural lashes are clean and free from oils or makeup. Gently remove any existing mascara with an oil-free makeup remover. You can also curl your natural lashes with an eyelash curler for better results and to help them blend seamlessly with the lash clusters. If you prefer, you can also apply a thin coat of mascara to your natural lashes, but make sure it is dry before proceeding.
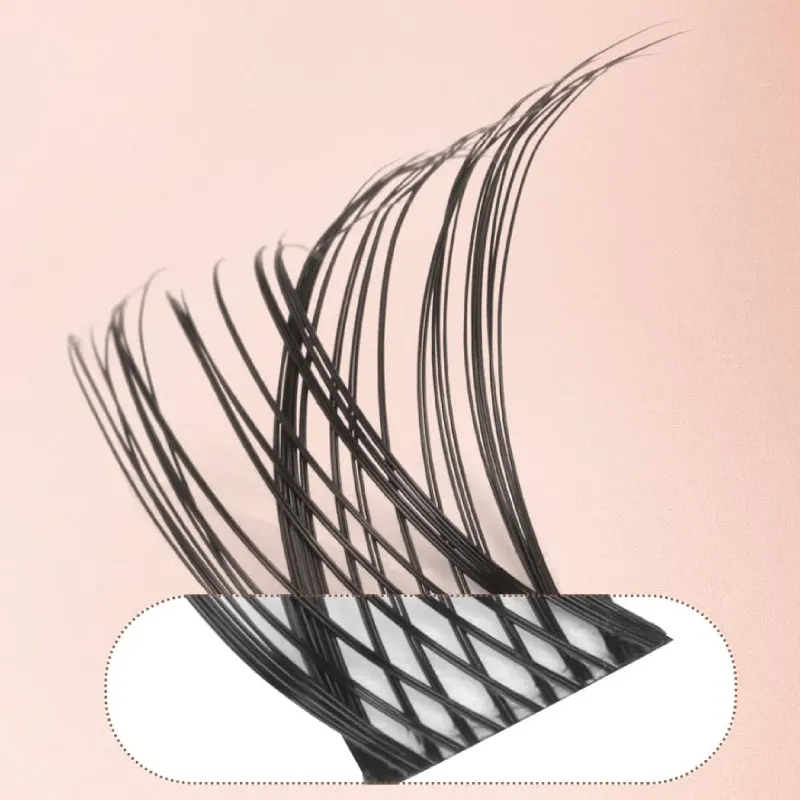
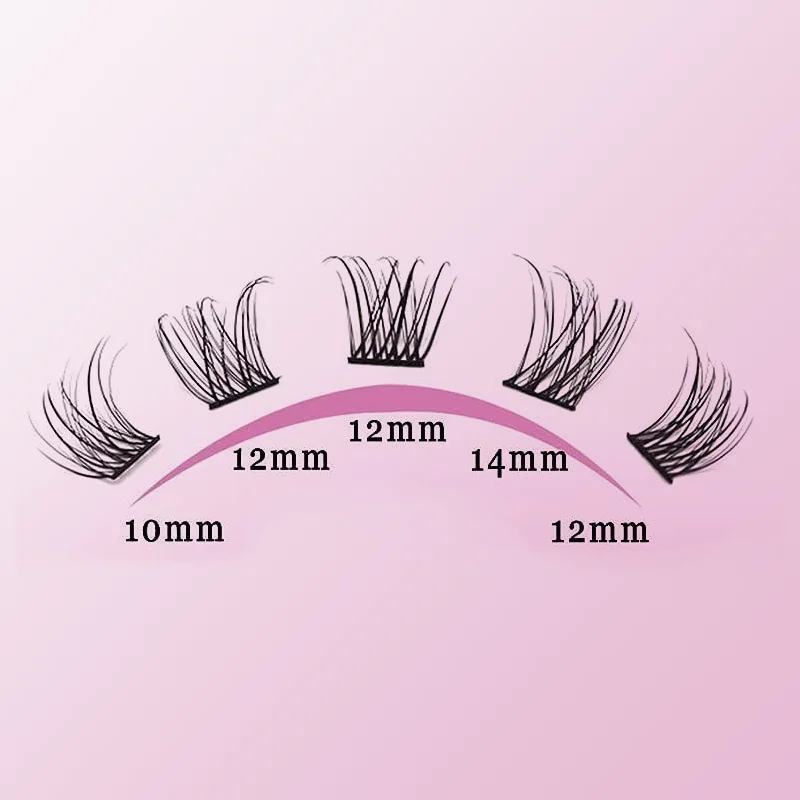
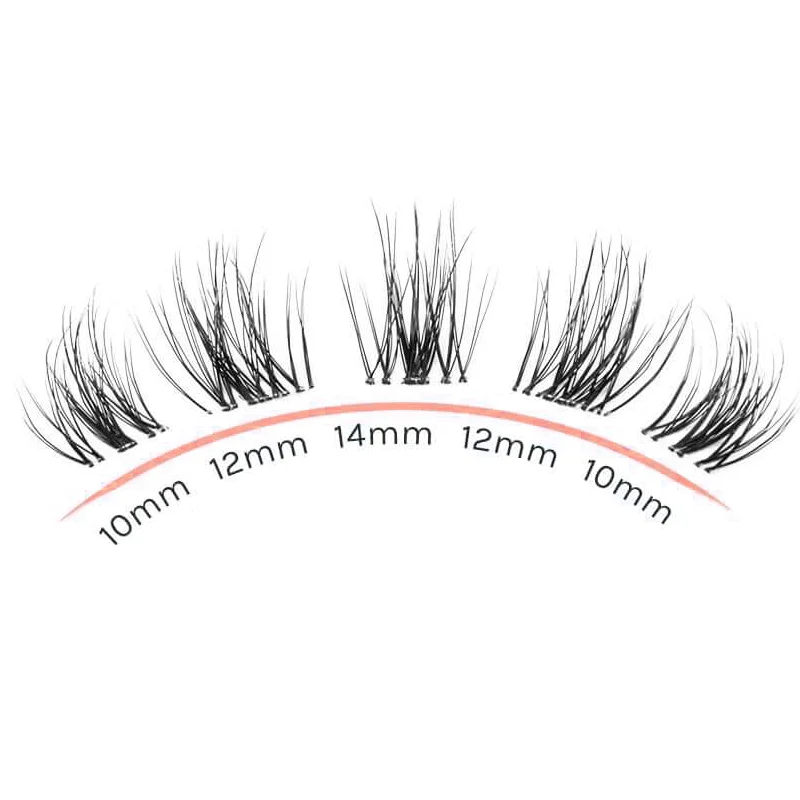
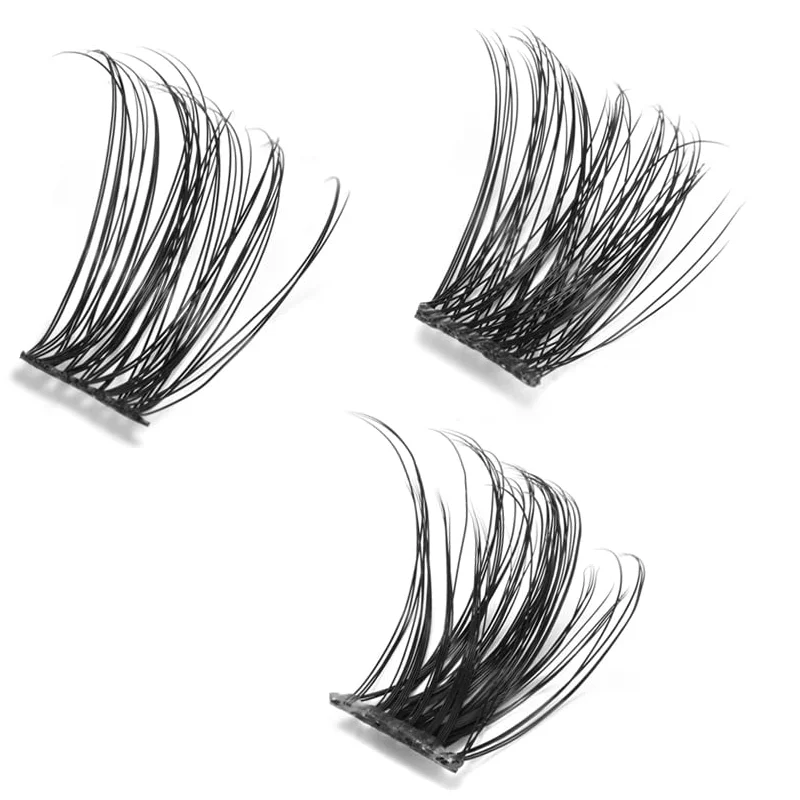
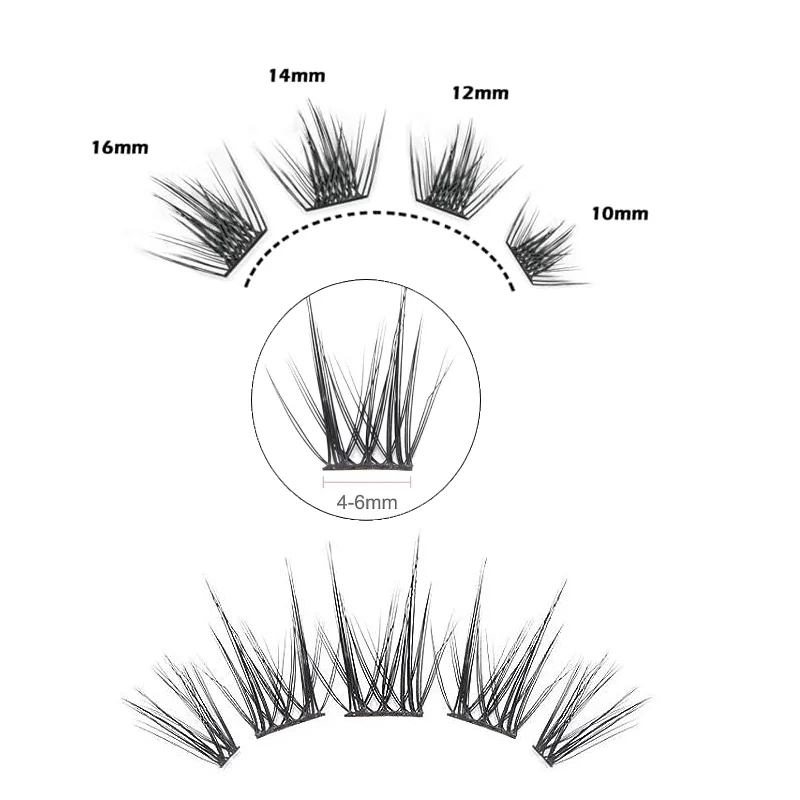
Step 2: Trim the Lashes Clusters to Fit Your Eye Shape
Lashes clusters come in different lengths, and it’s essential to tailor them to your eye shape for a natural look. Carefully measure the cluster against your eyelash line, trimming off any excess with scissors. You want the clusters to fit comfortably along your lash line, with the outer clusters slightly longer than the inner ones for a more open, cat-eye effect. This step ensures that the lashes fit your eyes perfectly, creating a seamless look.
Step 3: Apply Lash Bond Glue
Take your lash bond glue and apply a thin, even layer along the base of the lashes clusters. Use the applicator provided or a small brush to apply the glue directly to the band of the lash cluster. Be careful not to apply too much glue, as this can cause the lashes to slide or clump together. Allow the glue to sit for about 20-30 seconds to become tacky. This ensures that the glue adheres well when you place the clusters on your lash line.
Step 4: Place the Lashes Clusters Along Your Lash Line
Using a pair of tweezers, carefully pick up the lash cluster and gently place it along your natural lash line, starting from the outer corner of your eye. Position the cluster as close to your natural lashes as possible, but avoid touching your skin directly with the glue. Gently press the cluster into place using the tweezers, ensuring the cluster is secured. Repeat this process with additional clusters, working your way inward until your entire lash line is filled. Be sure to leave a small gap between each cluster to maintain a natural, fluttery look.
Step 5: Adjust and Secure the Lashes
Once all the clusters are applied, use the tweezers to gently press the base of each cluster into place. This ensures the lashes are securely attached to your natural lashes and gives them a more seamless, cohesive look. If needed, you can lightly pinch the clusters and your natural lashes together to ensure they bond well. If you notice any areas that feel loose, apply a small amount of extra glue and hold the cluster in place for a few seconds.
Step 6: Final Touches
Once the lashes have fully dried, you can use a mascara wand to blend your natural lashes with the lash clusters, creating a fuller, more uniform appearance. If desired, you can also add a final touch of mascara to further define your lashes. Be sure not to rub or touch the lashes excessively, as this may cause them to shift. For a more dramatic effect, you can use an eyeliner to fill in the lash line and add depth.
Conclusion
By following these six easy steps, you can apply lashes clusters effortlessly, creating a voluminous and striking look. Whether you’re aiming for a natural enhancement or a bold statement, using lash bond glue ensures that your lashes stay in place all day or night. With a little practice, you can master this technique and enjoy beautiful, long-lasting lashes.