![]()
How to remove individual lashes effectively is key to keeping your natural lashes healthy and strong. Whether you want to switch up your look or simply remove lash extensions for a fresh start, the right method makes all the difference.
This step-by-step guide will show you how to remove individual lashes without causing damage. With the right approach, you can say goodbye to lash glue and extensions safely. Ready to discover how to remove individual lashes the right way? Let’s dive in!
What Are Individual Lashes?

Individual lashes are single, separate lashes that are applied one at a time to your natural lashes. Unlike strip lashes, which are applied in one piece, individual lashes give a more natural, customized look. They are also different from lash extensions, which are typically semi-permanent and last longer. Individual lashes provide flexibility in design, allowing for a more tailored volume and length.
Since individual lashes are glued directly to each natural lash, they require a gentler removal process. This ensures you don’t damage your natural lashes or irritate your skin. Careful removal prevents breakage and maintains lash health, giving you the best results without any hassle.
How to Remove Individual Lashes : Gather the Right Tools

Before removing individual lashes, make sure you have the right tools on hand for a smooth, safe process. Here’s what you’ll need:
| Tool/Product | Purpose |
|---|---|
| Oil-based makeup remover or lash glue remover | Breaks down lash adhesive gently without irritating your skin. |
| Cotton pads or swabs | Apply remover precisely to the lash line for effective glue removal. |
| Clean water | Rinse away any leftover remover or adhesive after removal. |
| Mild facial cleanser | Cleanse your face and eye area before beginning the removal process. |
| Towel | Pat your skin dry to prevent irritation and avoid rubbing. |
| Optional: Lash comb or spoolie | Detangle lashes and check for any leftover glue after removal. |
Having these tools ready will make your lash removal process smooth, efficient, and safe for your natural lashes.
How to Remove Individual Lashes : Prepare Your Eyes and Skin
Cleanse your face and eye area to remove makeup or dirt
Before you begin removing individual lashes, thoroughly cleanse your face and eye area. Use a mild facial cleanser to remove any makeup, oil, or dirt. This step ensures your skin is free of residue, which could interfere with the remover or irritate the skin around your eyes. A clean surface allows the adhesive to break down more effectively, making the process smoother.
Protect your skin with a clean towel or soft cloth
Place a clean towel or soft cloth over your shoulders to protect your skin from any product drips. This will help you avoid mess and ensure a more comfortable, clean experience while removing your individual lashes. The towel will also absorb any excess remover, keeping the area around your eyes dry and safe from irritation or unnecessary product exposure.
Apply a small amount of remover on a cotton pad (avoid excess product)
Take a small amount of oil-based makeup remover or lash glue remover and gently apply it to a cotton pad. Be careful not to oversaturate it; too much product can cause excess run-off or irritation. The goal is to use just enough remover to break down the adhesive without overwhelming your lashes or skin. Pat the cotton pad gently along the lash line to start loosening the glue.
How to Remove Individual Lashes Step-by-Step

Step 1: Gently apply the remover to the lash line
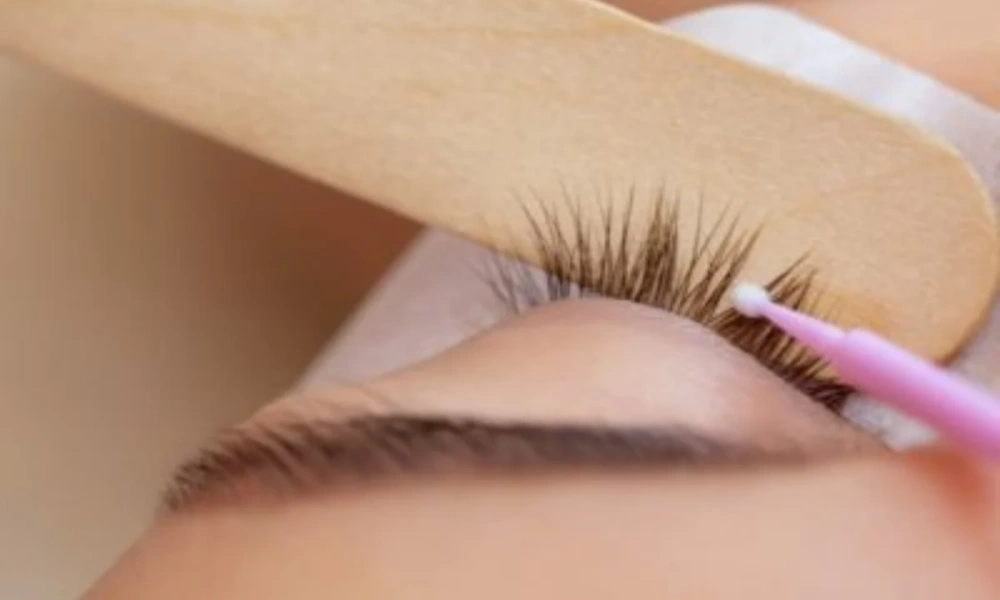
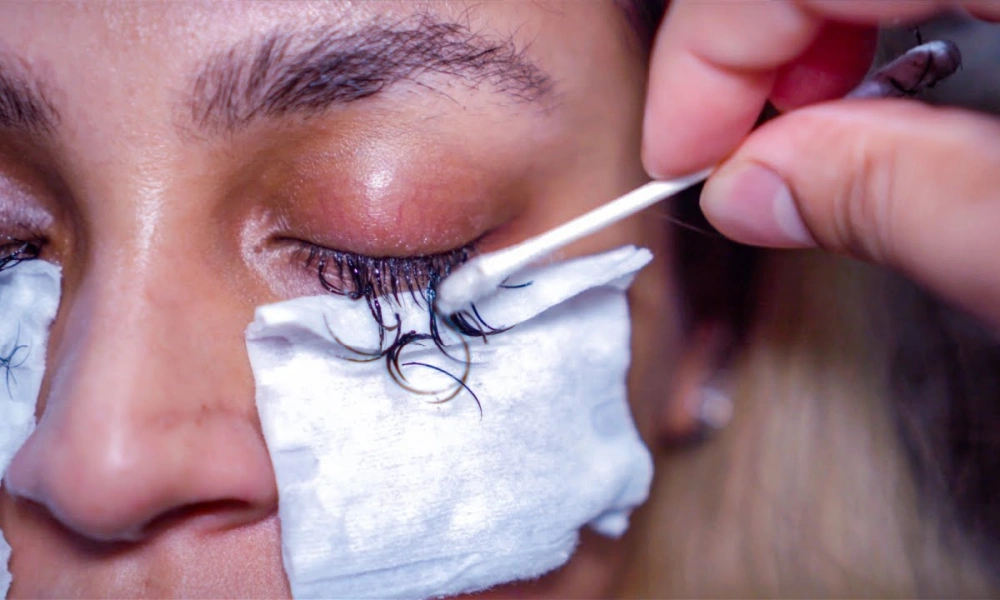
Start by applying a small amount of oil-based makeup remover or lash glue remover to a cotton pad. Hold the pad against your lash line for 20–30 seconds. This allows the remover to soften the adhesive, making it easier to remove the individual lashes without causing any discomfort or damage to your natural lashes. Be gentle—don’t rush this step.
Step 2: Slowly and carefully peel the lashes off
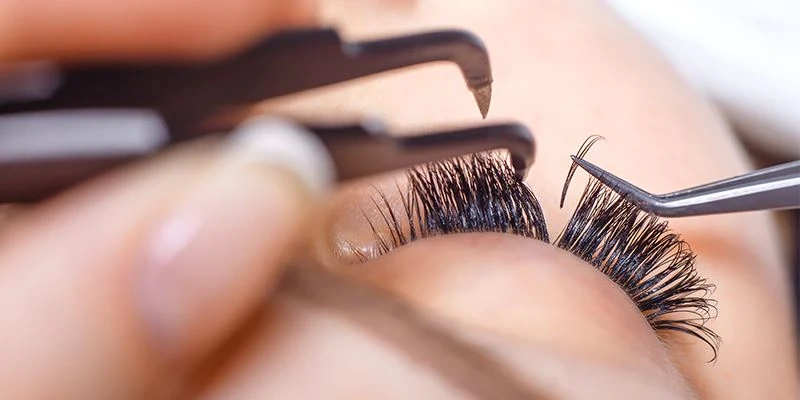
After the remover has had time to loosen the glue, gently peel off the individual lashes. Start at the outer corners and work your way inward. If any lashes are still stubborn, use a clean swab or tweezers to carefully lift them off. Avoid pulling or tugging, as this can harm your natural lashes. Patience is key for a smooth and safe removal process.
Step 3: Repeat the process for any remaining lashes
Once you’ve removed most of the lashes, reapply the remover to any areas with leftover adhesive. Gently press the cotton pad against the lash line for a few more seconds to loosen stubborn glue. Repeat the process until all lashes have been removed. Ensure no glue residue remains to protect your natural lashes and skin from irritation.
How to Remove Individual Lashes: Aftercare
Once you’ve removed your individual lashes, it’s important to care for your natural lashes and the skin around your eyes. First, cleanse the eye area thoroughly to remove any remaining adhesive. Gently rinse with warm water to ensure no residue is left behind.
Next, apply a mild moisturizer to the skin around your eyes to keep it hydrated and nourished. To strengthen your natural lashes and promote healthy growth, consider using a lash serum regularly. This aftercare routine will keep your lashes and skin in optimal condition.
How to Remove Individual Lashes: Tips You Need to Know
Avoid pulling or tugging at your lashes
Never pull or tug at your lashes during removal. This can cause unnecessary stress on your natural lashes, leading to breakage or even lash loss. Be gentle and patient as you peel the individual lashes off. By using the right techniques, you protect your natural lashes and prevent any harm to the delicate skin around your eyes.
Don’t rush the process—give the remover time to work
Patience is key when removing individual lashes. Allow the remover to sit on your lash line for 20–30 seconds to properly break down the adhesive. Rushing the process can result in stubborn glue and potentially cause irritation or damage. Giving the remover time to work ensures a safer, more effective removal without harming your lashes or skin.
Use products designed specifically for eyelash removal
Always use products formulated specifically for lash glue removal, such as oil-based makeup removers or lash glue removers. These products are gentle on your natural lashes and skin while effectively breaking down adhesive. Avoid using harsh chemicals or makeup removers that can irritate your eyes and skin, ensuring a smooth and safe lash removal experience.
Be patient to avoid damage to natural lashes
Taking your time with the removal process is crucial to protect your natural lashes. Rushing or using force can damage your lashes and skin. Be patient as you remove each lash, and always follow the correct procedure to ensure safe removal. The more careful you are, the healthier and stronger your natural lashes will remain for your next lash look.
What to Do If You Have Residual Glue?
If you have stubborn glue left after removing your individual lashes, don’t worry—there are simple ways to handle it. Start by applying a little more remover or a gentle cleansing oil to the area. This will help break down any remaining adhesive.
Then, gently scrub with a soft facial brush or a clean cotton pad to lift the glue without causing irritation. Avoid using harsh chemicals or rubbing aggressively, as this can damage your natural lashes and skin. With patience, you’ll be able to remove all residue safely.
Conclusion
Removing individual lashes can be a simple and safe process when you follow the right steps. With the correct tools and patience, you can protect your natural lashes while gently removing the adhesive. Remember to use quality removers and always handle your lashes with care.
For an effortless experience, make sure to follow the aftercare tips for healthy lashes. Now that you know how to remove individual lashes, get started with confidence and enjoy the process! Looking for high-quality lash glue for your next application? Quote individual lash glue from Heyme Beauty for a flawless, secure hold every time!
FAQ
What dissolves individual eyelash glue?
The best way to dissolve individual eyelash glue is by using an oil-based makeup remover or a mixture of coconut oil, olive oil, or baby oil. These oils break down the glue, making it easier to remove. You can also use an eyelash extension remover specifically designed for this purpose.
What is the fastest way to remove eyelash extensions at home?
The fastest way to remove eyelash extensions at home is by using a specially formulated eyelash extension remover or a DIY method involving oil (like coconut or olive oil). Apply the oil to a cotton pad, press it gently against your lashes, and let it sit for a few minutes before carefully removing the extensions with tweezers.
Can I use Vaseline to remove eyelash extensions?
Yes, Vaseline can be used to remove eyelash extensions. Its petroleum jelly base helps break down the glue. Simply apply a small amount to a cotton swab or your fingertips, gently rub it onto the lash line, and let it sit for a few minutes. Afterward, gently remove the extensions with tweezers or a clean cotton pad.
How to remove false eyelashes for beginners?
To remove false eyelashes, gently lift the outer corner of the strip using your fingers or tweezers. Slowly peel off the lashes starting from the outer edge, being careful not to pull on your natural lashes. If the adhesive is stubborn, use a makeup remover or a small amount of olive oil to loosen the glue.
How do you remove individual eyelash glue without remover?
If you don’t have a remover, you can use oils like olive, coconut, or baby oil to dissolve individual eyelash glue. Soak a cotton pad in the oil, press it against your lashes for a few minutes, then gently wipe away the glue. You can also use warm water and a gentle cleanser to soften the glue, followed by careful removal with tweezers.
