![]()
DIY lashes have become increasingly popular, offering a cost-effective and customizable way to enhance your look. how to remove diy lashes, as with any beauty treatment, proper removal is crucial to maintaining the health of your natural lashes and the skin around your eyes.
Types of DIY Lashes
Strip Lashes
Strip lashes are the most common type of DIY lashes, consisting of a full strip of lashes that adhere to your eyelid just above your natural lashes. They are easy to apply and come in various styles and lengths.
Individual Lashes
Individual lashes are small clusters or single lashes that are applied individually to your natural lashes. They offer a more natural look and can be customized to enhance the volume and length of your lashes.
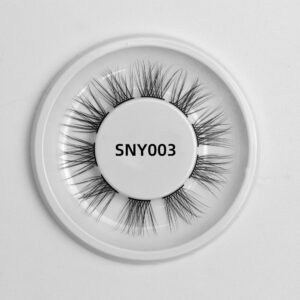
Cluster Lashes
Cluster lashes are a middle ground between strip lashes and individual lashes. They consist of small groups of lashes that are applied to the lash line, offering a fuller look without the effort required for individual lashes.
How to Remove DIY Lashes: Important
Proper removal of DIY lashes is essential to avoid damaging your natural lashes and preventing potential eye infections. Incorrect removal can lead to breakage of your natural lashes, irritation, and even long-term damage.
Tools You Will Need
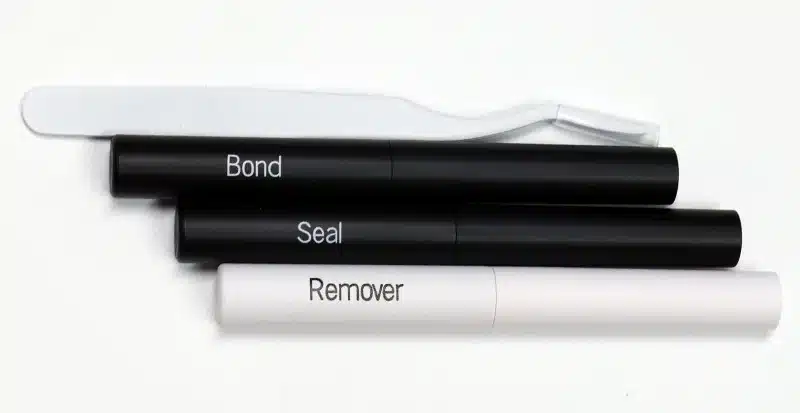
To remove DIY lashes safely, you will need the following tools:
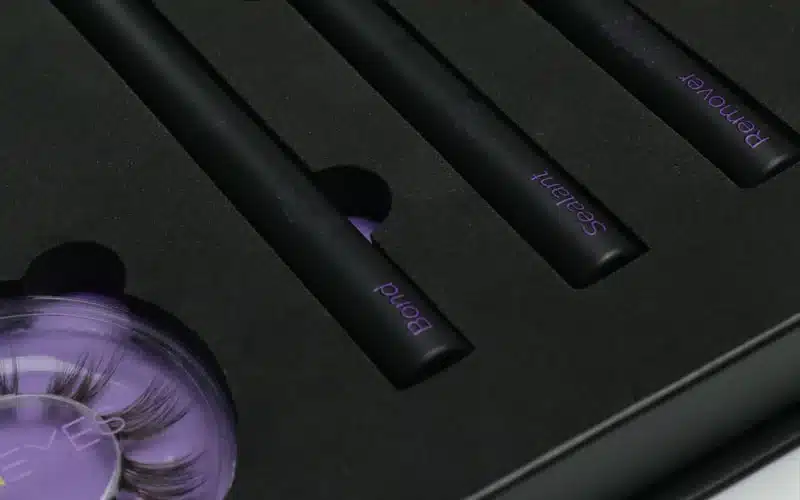
- Remover
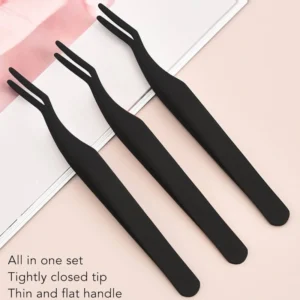
- Tweezers
- Cotton pads
- Oil-based cleanser
- Lash adhesive remover
Step-by-Step Guide to Removing Cluster DIY Lashes
Loosening the Adhesive
Apply a lash adhesive remover to a cotton pad and press it against your lash line to loosen the adhesive on the cluster lashes.
Removing the Clusters
Gently use tweezers to remove the clusters once the adhesive has loosened sufficiently.
Post-Removal Care
After removal, cleanse your lash line with an oil-based cleanser to ensure all adhesive is removed.
Alternative Removal Methods
Using Steam
Steam can help to loosen the adhesive on your lashes. Boil water and pour it into a bowl, then hold your face over the steam with a towel over your head for a few minutes.
Natural Oils
Natural oils such as coconut oil or olive oil can also help to dissolve lash adhesive. Apply the oil to a cotton pad and gently press it against your lashes.
Professional Removal
If you are unsure about removing your DIY lashes yourself, consider visiting a professional for safe removal.
Common Mistakes to Avoid
Pulling Lashes Off Without Softening Adhesive
Always soften the adhesive before attempting to remove your lashes to avoid damaging your natural lashes.
Using Harsh Chemicals
Avoid using harsh chemicals that can irritate your eyes and skin.
Neglecting Aftercare
Proper aftercare is essential to maintain the health of your natural lashes and the skin around your eyes.
Preventive Measures for the Next Application
Choosing the Right Adhesive
Select a high-quality, gentle adhesive to minimize damage to your natural lashes.
Applying Lashes Correctly
Ensure you apply your DIY lashes correctly to avoid excessive stress on your natural lashes.
Regular Cleaning and Maintenance
Clean and maintain your DIY lashes regularly to prolong their lifespan and ensure safe use.
FAQs about DIY Lash Removal
How Often Can I Apply DIY Lashes?
It is recommended to give your natural lashes a break between applications to avoid damage.
Can I Reuse DIY Lashes?
Yes, with proper cleaning and maintenance, you can reuse DIY lashes several times.
What Should I Do If I Experience Irritation?
If you experience irritation, remove the lashes immediately and consult a healthcare professional if necessary.
Conclusion
Proper removal of DIY lashes is crucial to maintaining the health of your natural lashes and the skin around your eyes. By following the steps and tips provided in this guide, you can safely remove your DIY lashes and ensure your natural lashes remain healthy and strong. Remember to take your time, use the right tools, and avoid common mistakes to achieve the best results.
