![]()
Are you ready to take a break from your DIY lash extensions? Whether you’ve had them for a few weeks or a few months, it’s important to remove them carefully to avoid damaging your natural lashes.
In this guide, we’ll walk you through a step-by-step process to safely remove your DIY lash extensions at home.
What Are DIY Lash Extensions
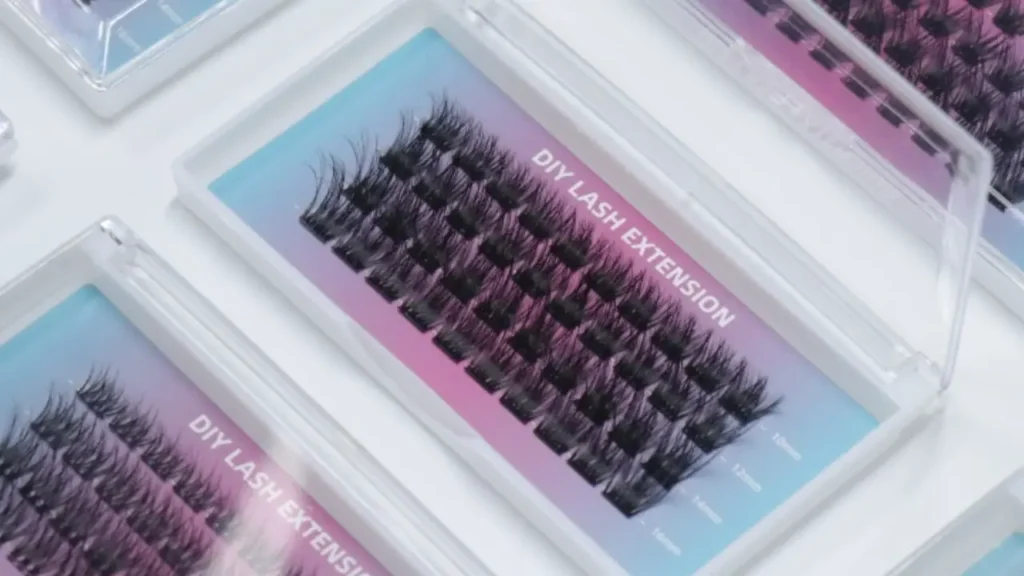
DIY lash extensions are individual lashes that you apply to your natural lashes using a special adhesive. They are designed to give you a fuller, longer, and more dramatic lash look. Unlike traditional false eyelashes, which are applied as a strip, DIY lash extensions are applied one by one, allowing for more customization and a more natural look.
Here are some of the pros and cons of DIY lash extensions:
Pros:
- Cost-effective: DIY lash extensions are much cheaper than professional lash extensions.
- Convenient: You can apply them at home at your own convenience.
- Customizable: You can choose the length, curl, and thickness of your lashes.
- Long-lasting: With proper care, DIY lash extensions can last up to several weeks.
Cons:
- Time-consuming: Applying DIY lash extensions can be time-consuming, especially for beginners.
- Requires practice: It takes practice to apply lash extensions evenly and neatly.
- Potential for damage: If not applied correctly, DIY lash extensions can damage your natural lashes.
- Risk of infection: If the adhesive gets in your eyes, it can cause irritation or infection.
Before you try DIY lash extensions, it’s important to weigh the pros and cons and decide if it’s the right choice for you. If you’re not confident in your ability to apply them yourself, it’s best to have them applied by a professional lash technician.
How to Remove DIY Lash Extensions
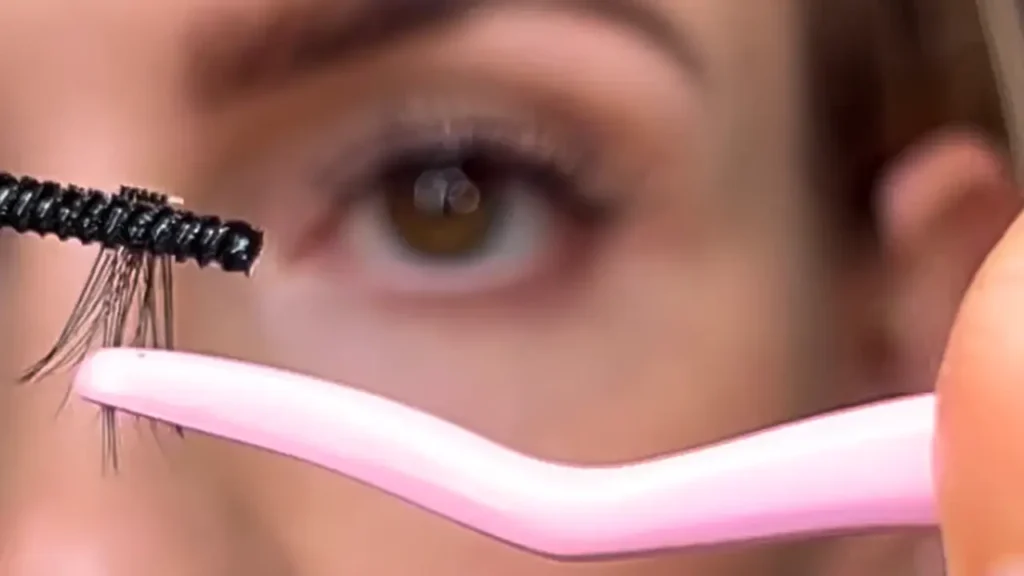
How to take off diy lash extensions? Here is the beginners’ guide for you guys to get your DIY lash extensions off after a busy day.
Step 1: Gather Your Supplies
Before you begin, ensure you have the following supplies:
- Olive Oil or Coconut Oil: A natural oil that helps to dissolve the lash adhesive.
- Cotton Swabs: For gentle application of the oil.
- Spoolie Brush: To help separate the lashes.
- Patience: The removal process requires patience and gentle handling.
Why Oil is Crucial:
Oil-based products, like olive oil or coconut oil, are effective in breaking down the adhesive bond between the extension and your natural lash. The oil molecules penetrate the adhesive, weakening its hold and making it easier to remove the extensions.
Step 2: Warm Up the Adhesive
Warm, moist compresses can help soften the lash adhesive, making it easier to remove. Here’s how:
- Boil Water: Boil a kettle or pot of water.
- Soak a Washcloth: Dip a clean washcloth into the hot water and wring out the excess.
- Apply to Eyes: Gently place the warm, damp washcloth over your closed eyes for a few minutes.
- Repeat: Repeat this process a few times to ensure the adhesive is thoroughly softened.
The Science Behind Warming:
Heat increases the kinetic energy of the adhesive molecules, causing them to vibrate more rapidly. This increased vibration weakens the bonds between the adhesive molecules, making the adhesive more pliable and easier to remove.
Step 3: Gently Remove the Extensions
Now that the adhesive has been softened, it’s time to carefully remove the extensions. Here’s a detailed breakdown:
- Prepare Your Workspace: Find a well-lit area with a magnifying mirror. This will allow you to see the individual extensions clearly.
- Apply Oil: Dip a cotton swab into the warm oil (olive oil or coconut oil). Gently apply the oil to the base of each extension. Be cautious not to get the oil in your eyes.
- Wiggle the Extensions: Use a clean spoolie brush to wiggle the base of each extension gently. This helps to loosen the adhesive bond. Be patient and gentle, as forceful pulling can damage your natural lashes.
- Slide the Extension Off: Once the adhesive has loosened, use the spoolie brush to gently slide the extension off your natural lash. If an extension is stubborn, apply more oil and wait a few minutes before trying again.
- Check for Residue: After removing an extension, carefully inspect your natural lash. If there is any remaining adhesive, apply more oil and gently wipe it away with a clean cotton swab.
- Cleanse Your Lashes: Use a gentle, oil-free cleanser to wash your face and lashes once all the extensions have been removed. Rinse thoroughly with warm water and gently pat dry with a clean towel.
Additional Tips:
- Avoid Using Water: While warm compresses can help soften the adhesive, avoid directly applying water to your lashes during the removal process. Water can cause the adhesive to harden and make removal more difficult.
- Don’t Rush: The removal process may take some time, especially if you have many extensions. Don’t rush the process, as this can lead to damage to your natural lashes.
- Seek Professional Help: If you’re struggling to remove the extensions or are concerned about damaging your natural lashes, consider seeking professional help from a licensed lash technician.
By following these steps and taking your time, you can safely remove your DIY lash extensions and maintain the health of your natural lashes.
The Importance of Gentle Removal:
Pulling on the extensions can lead to premature lash loss, breakage, and even damage to the hair follicles. Gentle removal techniques, such as using oil and wiggling the extensions, minimize the risk of damage and help preserve the health of your natural lashes.
Step 4: Cleanse Your Lashes
Once all the extensions have been removed, it’s important to cleanse your lashes to remove any remaining adhesive and oil:
- Gentle Cleanser: Use a gentle, oil-free cleanser to wash your face and lashes.
- Warm Water: Rinse your lashes with warm water to remove any residue.
- Pat Dry: Gently pat your lashes dry with a clean towel.
Why Cleansing is Essential:
Cleansing your lashes after removal helps to maintain their health and prevent irritation. It removes any residual adhesive that may irritate your eyes or clog your pores.
Step 5: Nourish Your Lashes
To help your lashes recover from the extension process, consider using a lash serum or castor oil:
- Lash Serum: A lash serum can help to strengthen and condition your lashes.
- Castor Oil: Castor oil is a natural moisturizer that can help to nourish and hydrate your lashes.
The Benefits of Lash Nourishment:
Nourishing your lashes after removal helps to restore their health and promote growth. It can also help to prevent future damage from extensions or other factors.
Professional Eyelash Extension Removal
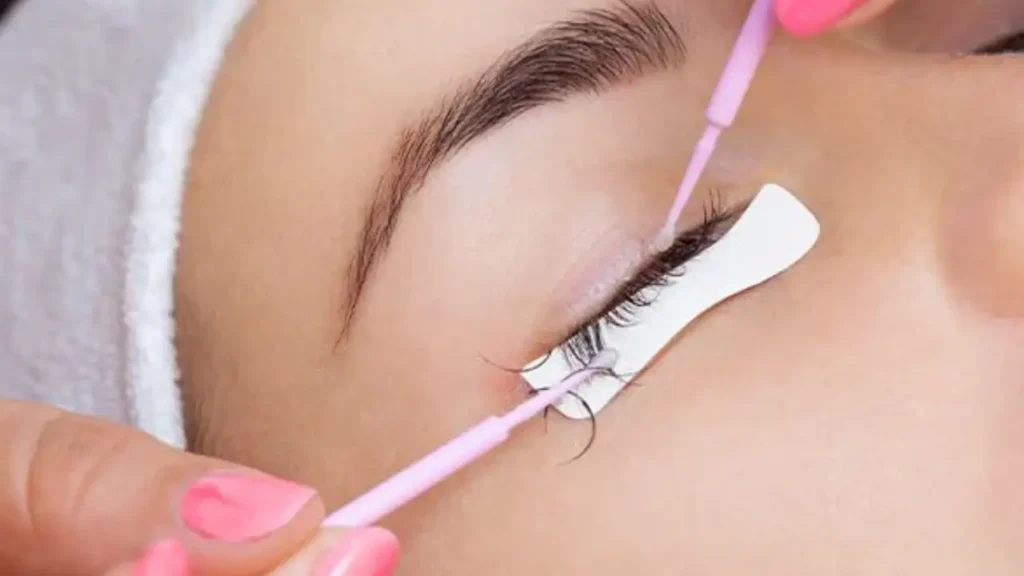
It’s strongly recommended to have your eyelash extensions removed by a professional lash technician. They have the proper training and tools to remove the extensions safely and without damaging your natural lashes.
Here’s a general overview of the professional eyelash extension removal process:
- Preparation: The technician will clean your lashes and the surrounding area to remove any dirt, oil, or makeup. They may also apply eye pads to protect the delicate skin around your eyes.
- Applying Remover: The technician will use a special lash extension remover to break down the adhesive bond between the extensions and your natural lashes. This remover is specifically designed to dissolve the glue without harming your lashes.
- Removing Extensions: The technician will gently remove the extensions one by one using a tweezer or a spoolie brush. They will work slowly and carefully to avoid pulling on your natural lashes.
- Cleaning: Once all the extensions have been removed, the technician will clean your lashes again to remove any remaining adhesive or residue. They may also apply a lash conditioner to help nourish your lashes.
The entire process should take about 30-45 minutes. After the removal, your lashes may feel a bit bare and sensitive. It’s important to avoid rubbing your eyes or using harsh products on your lashes for the next few days. You can also apply a lash serum to help your lashes recover and grow stronger.
If you’re considering getting eyelash extensions, it’s important to choose a reputable salon and technician. Make sure to ask about their experience and training in removing lash extensions. You should also ask about the type of adhesive they use and the removal process.
DIY Lash Extension Removal at Home
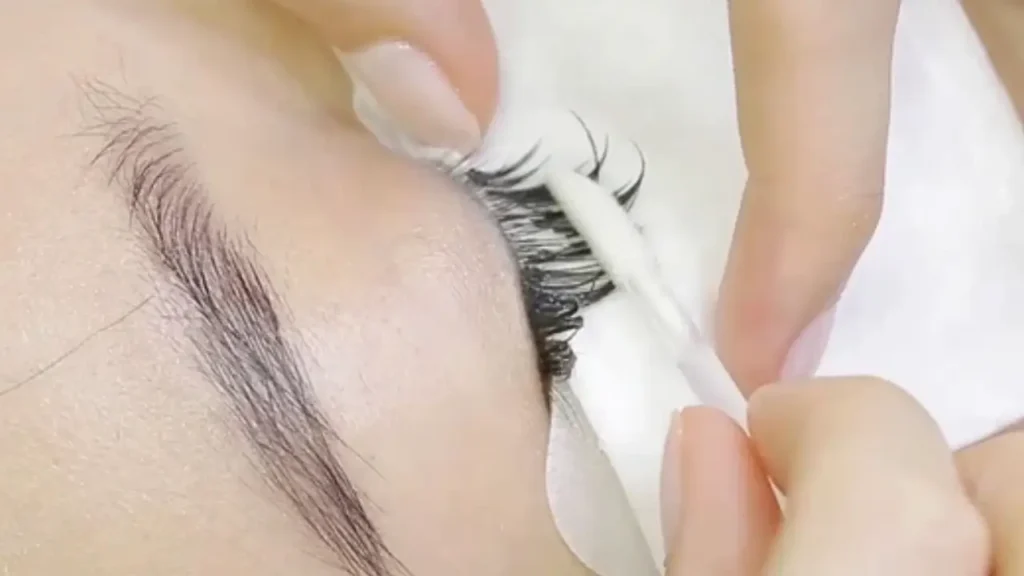
While it’s generally recommended to have lash extensions removed by a professional, there are safe methods for DIY removal. Here’s how to do it:
Materials Needed:
- Oil-based makeup remover
- Cotton pads or swabs
- Spoolie brush
Steps:
- Warm the Adhesive: Gently warm the adhesive by applying a warm, damp compress to your eyes for a few minutes. This softens the adhesive, making it easier to remove the extensions.
- Apply Remover: Dip a cotton pad or swab in oil-based makeup remover and gently press it against the base of the lash extension. Allow it to sit for a few minutes.
- Gently Wiggle: Using a spoolie brush, gently wiggle the base of the lash extension to loosen the adhesive.
- Wipe Away: Once the adhesive has softened, gently wipe away the extension using the cotton pad or swab.
- Repeat: Repeat the process for each lash extension, working slowly and carefully.
Important Tips:
- Avoid Pulling: Never pull on your lash extensions, as this can damage your natural lashes.
- Be Patient: The removal process may take some time, so be patient and gentle.
- Cleanse Thoroughly: After removing the extensions, cleanse your lashes and eyelids with a gentle, oil-free cleanser to remove any remaining adhesive.
- Nourish Your Lashes: Apply a lash serum to help your natural lashes recover and grow stronger.
Remember, if you’re unsure about the removal process or experience any discomfort, it’s best to consult a professional lash technician.
Conclusion:
While DIY lash extensions can be fun and convenient, it’s important to use high-quality products and techniques to avoid damaging your natural lashes.
Want to achieve flawless lashes without the hassle? Our expertly formulated lash extension kits are designed to give you stunning results. Order yours today and experience the difference!
