![]()
DIY eyelash extensions offer a fantastic way to achieve a glamorous look from the comfort of your own home. With the right tools and techniques, you can master the art of applying these faux lashes, saving money and gaining a new skill.
In this comprehensive guide, we’ll walk you through the step-by-step process of applying DIY eyelash extensions, ensuring a flawless and long-lasting result.
Let’s dive in!
This guide will take you through the process of applying eyelash extensions at home, providing tips, techniques, and safety precautions to ensure beautiful and long-lasting results.
What Are DIY Eyelash Extensions
Eyelash extensions can transform your appearance by adding volume and length to your natural lashes. Applying eyelash extensions at home has become increasingly popular due to the convenience and cost savings. This comprehensive guide aims to equip you with the knowledge and skills necessary to apply eyelash extensions safely and effectively.
Benefits of DIY Eyelash Extensions
- Cost-Effective: Save money by avoiding salon appointments.
- Convenience: Do it on your own time, at your own pace.
- Customization: Choose the length, curl, and thickness to suit your personal style.
- Creative Outlet: Experiment with different looks and techniques.
- Boosted Confidence: Enhance your natural beauty and feel more glamorous.
By mastering the art of DIY eyelash extensions, you can achieve stunning results and boost your self-esteem.
Types of Eyelash Extensions
Synthetic
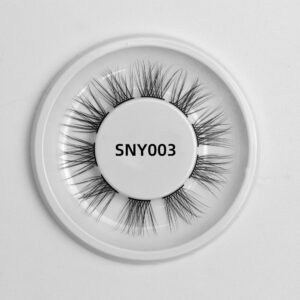
Synthetic lashes are made from man-made fibers that are designed to look like real eyelashes. They are typically thicker and glossier than natural lashes, making them ideal for a bold, dramatic look.
Silk
Silk lashes are softer and more flexible than synthetic lashes. They provide a more natural appearance and are often preferred for everyday wear. They are lighter in weight, reducing the risk of damage to natural lashes.
Mink
Mink lashes are made from natural fur, offering the most natural look and feel. They are lightweight, soft, and flexible, making them the most luxurious option. However, they can be more expensive and require more care.
Choosing the Right Eyelash Extensions
When selecting eyelash extensions, consider the following factors:
- Length: Choose a length that complements your natural lashes and desired look.
- Thickness: Thicker extensions provide a more dramatic look, while thinner extensions offer a natural appearance.
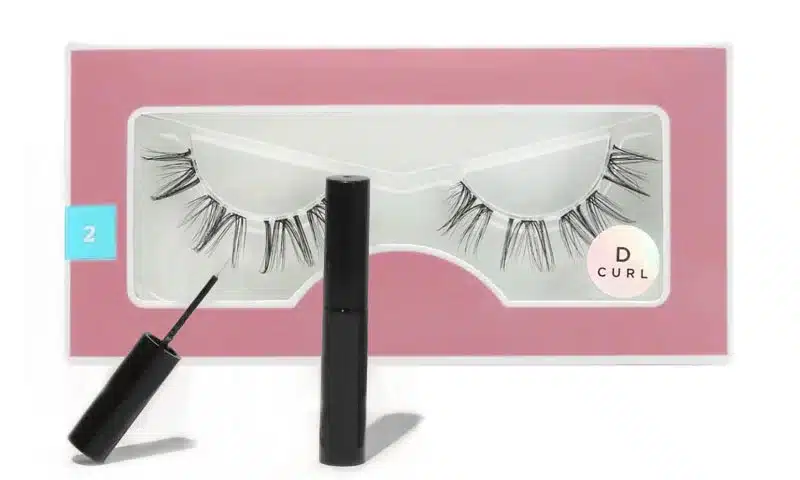
- Curl: Different curls (J, B, C, D) create varying effects, from subtle lift to a pronounced curl.
- Material: Consider the material’s weight, flexibility, and how it interacts with your natural lashes.
Essential Tools and Materials
To apply eyelash extensions at home, you will need:
- Eyelash extensions: Choose the type, length, and thickness that suits your preference.
- Adhesive: A high-quality eyelash adhesive designed for extensions.
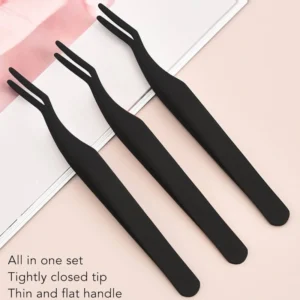
- Tweezers: Precision tweezers for picking and placing extensions.
- Under-eye pads: To protect the lower lashes and skin.
- Lash comb: To separate and align lashes.
- Mirror: A magnifying mirror for detailed work.
Safety Precautions
Applying eyelash extensions requires precision and care. Follow these safety tips to avoid injury and ensure successful application:
- Patch test: Conduct a patch test with the adhesive to check for allergic reactions.
- Hygiene: Ensure all tools are sanitized and your hands are clean.
- Ventilation: Work in a well-ventilated area to avoid inhaling adhesive fumes.
- Avoid contact with eyes: Keep adhesive away from your eyes to prevent irritation or injury.
Preparing Your Natural Lashes
Proper preparation is crucial for successful eyelash extension application:
- Cleanse: Remove any makeup, oils, or debris from your natural lashes.
- Dry: Ensure your lashes are completely dry before starting.
- Brush: Use a lash comb to separate and align your natural lashes.
How to Apply DIY Lash Extensions
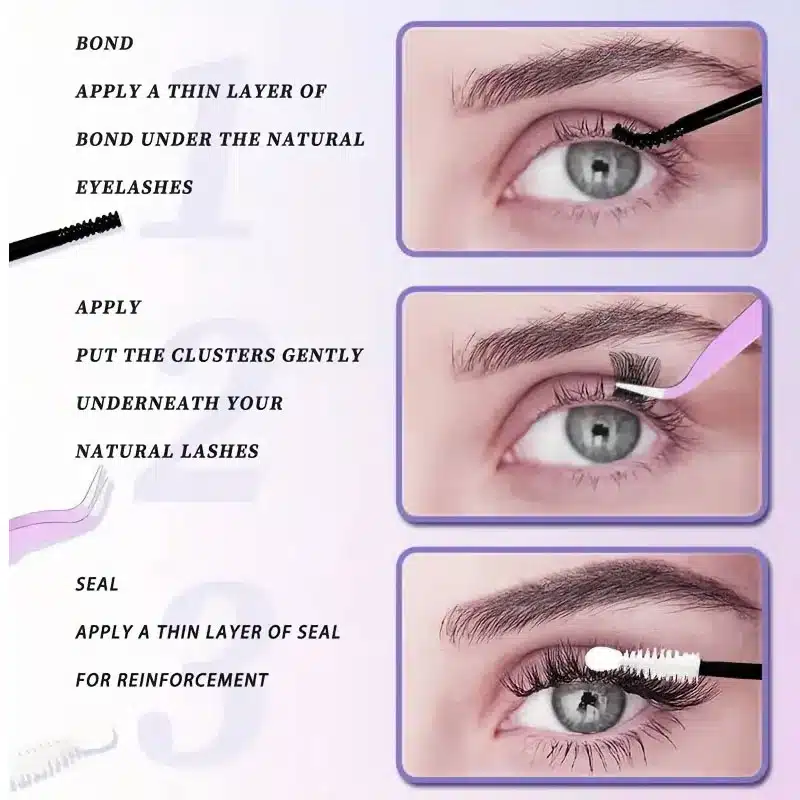
Preparing the Workspace
Set up a clean, well-lit, and comfortable workspace. Ensure all your tools and materials are within easy reach.
Applying Under-Eye Pads
Place under-eye pads on the lower lash line to protect your skin and lower lashes during application.
Selecting the Extensions
Choose the appropriate length and thickness of extensions for each section of your lashes. Organize them for easy access.
Isolating Natural Lashes
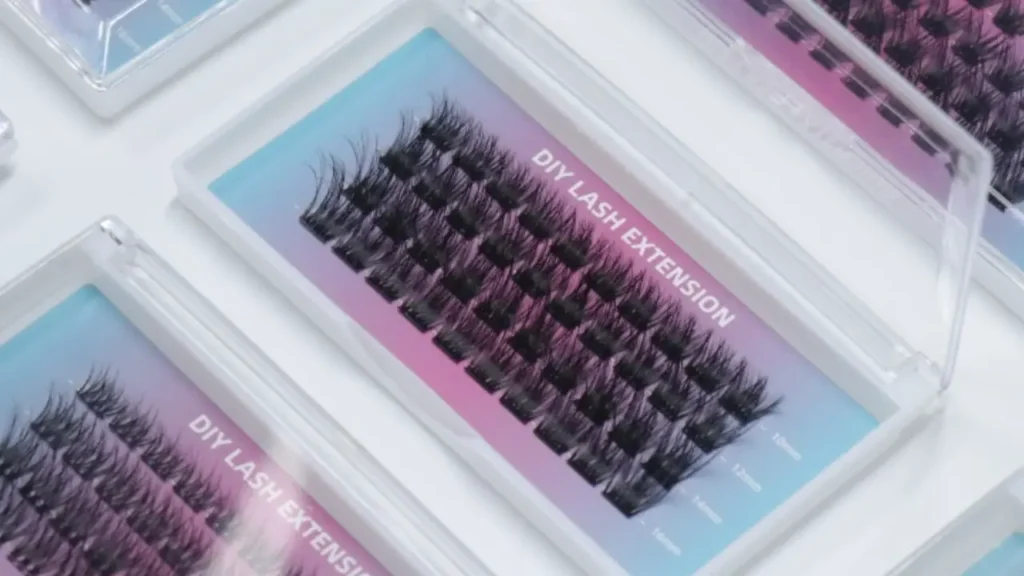
Use tweezers to isolate one cluster lash at a time. This step is crucial for attaching the extension without clumping or tangling.
Applying the Adhesive
Dip the base of the extension into a small amount of adhesive. Avoid using too much adhesive to prevent clumping.
Placing the Extension
Carefully place the extension on the isolated natural lash, about 1mm away from the eyelid to avoid irritation. Hold it in place for a few seconds to allow the adhesive to bond.
Final Adjustments
After applying all the extensions, use a lash comb to gently separate and align them. Check for any clumping or misaligned lashes and make necessary adjustments.
Common Mistakes and How to Avoid Them
Using Too Much Adhesive
Excessive adhesive can cause clumping and discomfort. Use a small amount and apply it carefully.
Incorrect Placement
Placing extensions too close to the eyelid can cause irritation. Maintain a 1mm distance from the eyelid.
Skipping Isolation
Failing to isolate natural lashes can lead to clumping and uneven application. Take your time to isolate each lash properly.
Aftercare for DIY Eyelash Extensions
Aftercare for DIY Eyelash Extensions
Proper aftercare is crucial to maintaining the beauty and longevity of your DIY eyelash extensions. Here are some essential tips:
Avoid Water Exposure:
For the first 24-48 hours, avoid getting your lashes wet. This includes water from showers, swimming pools, and saunas.
Gentle Cleansing:
Use a gentle, oil-free cleanser to clean your face. Avoid rubbing your eyes or pulling on the lashes.
Pat your face dry with a soft towel.
Avoid Oil-Based Products:
Oil can break down the adhesive, causing your lashes to fall off prematurely.
Use oil-free makeup removers and moisturizers.
Sleep Position:
Try to sleep on your back to prevent rubbing your lashes against your pillowcase.
Regular Maintenance:
Brush your lashes gently each morning with a spoolie brush to keep them separated and looking their best.
By following these aftercare tips, you can enjoy your DIY eyelash extensions for weeks to come.
Removing Eyelash Extensions
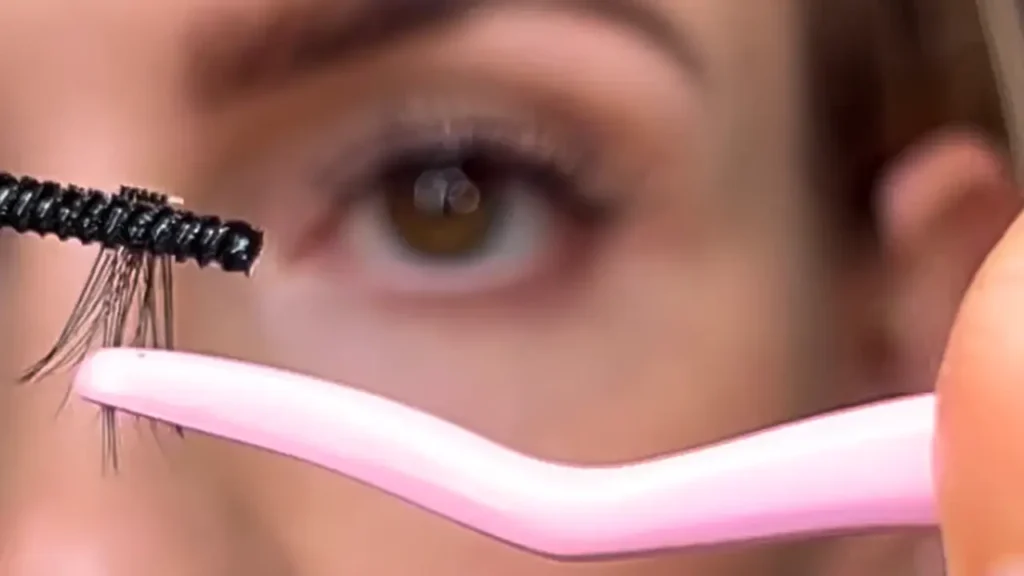
If you need to remove your eyelash extensions, follow these steps:
- Use a remover: Apply an eyelash extension remover to dissolve the adhesive.
- Be gentle: Avoid pulling or tugging on your lashes to prevent damage.
- Seek professional help: If you’re unsure, consider visiting a professional for safe removal.
FAQs
How long do DIY eyelash extensions last?
With proper care, DIY eyelash extensions can last between 2 to 4 weeks before needing a touch-up.
Can I wear mascara with eyelash extensions?
It is generally not recommended to wear mascara with eyelash extensions as it can cause clumping and make removal difficult. If necessary, use a water-based mascara.
How often should I get eyelash extensions filled?
Fill-ins are typically needed every 2 to 3 weeks to maintain a full look as your natural lashes shed and new ones grow.
Are eyelash extensions safe?
When applied correctly and with proper aftercare, eyelash extensions are safe. Always perform a patch test with the adhesive and follow safety guidelines.
Can I swim with eyelash extensions?
It is advisable to avoid swimming for the first 24-48 hours after application. After this period, you can swim, but avoid prolonged exposure to water and chlorinated pools.
Conclusion
With practice and patience, you can master the art of DIY eyelash extensions, achieving a stunning, professional-looking result. Remember to prioritize safety, use high-quality products, and follow the steps outlined in this guide.
Ready to take your lash game to the next level?
If you’re looking for a hassle-free way to achieve gorgeous lashes, consider our expert DIY lash extension kits. Our kits include everything you need to create a flawless look, from high-quality lashes to easy-to-follow instructions.
Elevate your beauty routine today. Shop our DIY lash extension kits now!

