![]()
If you’re looking to add some bold drama to your lashes, creating lash spikes is the perfect way to do it! Lash spikes can give your eyes a fierce, edgy look that’s perfect for any occasion. In this guide, we’ll walk you through the steps on how to create lash spikes, from choosing the right mascara to applying them with precision.
Whether you’re going for a subtle or dramatic effect, we’ve got you covered. Ready to learn how to create lash spikes? Let’s get started!
What Are Lash Spikes?

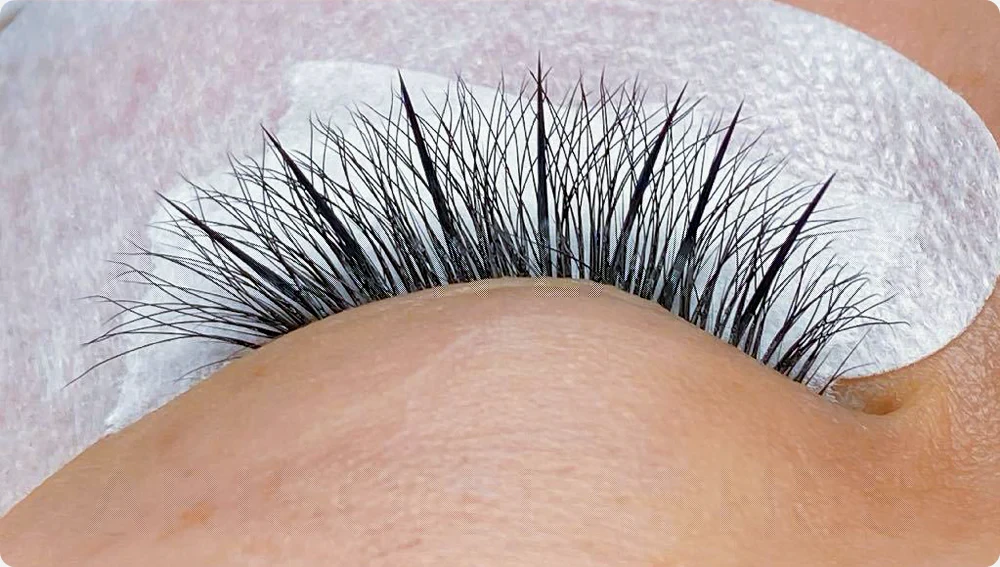
Lash spikes are lashes that create a bold, dramatic effect by adding volume and texture to your lash line. Unlike regular lashes, which create a smooth and even look, spike lashes feature tips that stand out, giving a spiky, edgy appearance.
They are popular in dramatic makeup looks, such as cosplay or evening glam, as they add definition and depth. If you want to try the bold look, quote our spike lashes today and elevate your eye makeup game!
How to Create Lash Spikes: Step-by-Step Guide

Tools and Products You’ll Need
Here’s a simple list of tools to help you create stunning lash spikes:
| Tool/Product | Purpose |
|---|---|
| Volumizing Mascara | Adds volume and length for fuller lashes. |
| Lash Curler | Lifts and curls lashes for a more dramatic look. |
| Eyelash Comb/Spoolie | Separates and defines lashes for that spiked effect. |
| False Lashes (Optional) | Adds extra length and volume for a bold, dramatic look. |
| Eyelash Glue (Optional) | Secures false lashes in place for long-lasting wear. |
With these tools, you’ll be ready to master how to create lash spikes and achieve that perfect dramatic lash look!
1. How to Create Lash Spikes: Prep Your Natural Lashes
Start by cleaning your lashes to remove any excess makeup or oils. Gently curl your lashes using a lash curler to lift them, creating a more dramatic base for the spikes. After curling, apply a light coat of mascara to define your lashes. This step sets the foundation, giving your lashes a natural yet defined look before you begin building volume and texture for the spikes.
2. How to Create Lash Spikes: Build the Base with Mascara
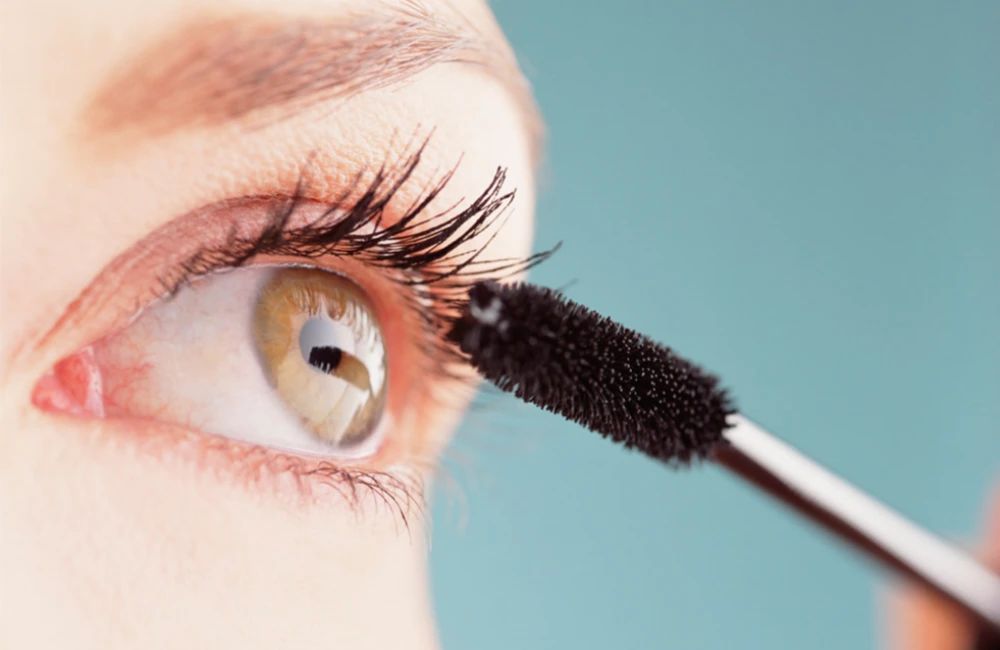
Now, focus on building a strong base for your lash spikes. Apply a thick coat of volumizing mascara to your lashes. Start at the roots and move upward to add both length and volume. This step will give your lashes a fuller look, which is essential for achieving that dramatic, spiked effect. Be sure to coat each lash evenly, especially the roots, for a solid foundation before creating the spikes.
3. How to Create Lash Spikes: Creating the Spikes
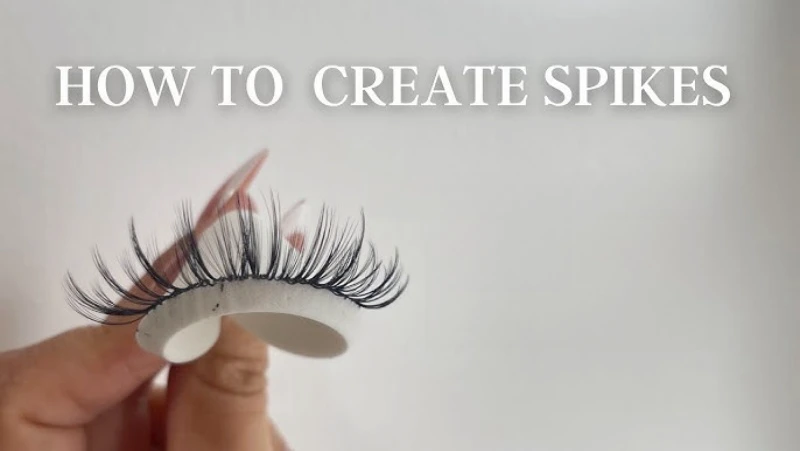
To create the actual lash spikes, use a spoolie or eyelash comb to separate your lashes. This will help ensure each lash stands out, allowing for better texture. Next, apply more mascara to the tips of your lashes, where you want the spikes to form. Use a back-and-forth motion with your mascara wand to create a textured, spiked look. Focus on specific areas to build volume at the tips, making them stand out even more.
4. How to Create Lash Spikes: Optional False Lashes for Extra Drama
For an even more dramatic look, add individual false lashes to the outer corners of your eyes. These lashes help define the spiked effect and give your eyes a wide, anime-inspired look. After placing the false lashes, blend them with your natural lashes using mascara. This will seamlessly integrate them, making the false lashes look more natural and giving your spikes a bold, defined appearance.
5. How to Create Lash Spikes: Final Touch
To perfect the look, carefully adjust and shape any of the spikes that may need refining. Use a spoolie to separate any clumps and create clean lines. Once you’re happy with the shape, apply one last coat of mascara to ensure everything is blended and uniform. This final step helps to define the spikes and sets them in place for a long-lasting, dramatic lash look that truly stands out.
Tips for Perfect Lash Spikes
Achieving Natural-Looking Spikes
To create natural-looking spikes, focus on building texture rather than volume. Apply mascara in light layers, focusing on the tips of your lashes. Use a spoolie to separate lashes and prevent clumping. Keep the base of your lashes light to maintain a balanced look, allowing the tips to stand out for a subtle yet defined spiked effect.
How to Avoid Clumps and Product Buildup
To avoid clumps and excess product buildup, always remove excess mascara from the wand before applying. Use a spoolie or lash comb to separate lashes after each coat. Apply mascara in thin layers, letting each layer dry slightly before applying the next. This method keeps the lashes clean, defined, and free from unwanted clumps, ensuring a smooth, textured spike.
Making Spikes Last Longer
To make your lash spikes last longer, use a waterproof mascara formula that holds the shape throughout the day. After creating the spikes, set them with a light mist of setting spray to lock the texture in place. Avoid touching your lashes throughout the day to maintain the spiked effect and prevent any smudging or drooping, ensuring your lashes stay bold and defined all day.
How to Create Lash Spikes: Common Mistakes to Avoid
Overapplying Mascara

One common mistake when creating lash spikes is overapplying mascara. Adding too much product can weigh down your lashes and make them look clumpy rather than spiky. Instead, apply mascara in thin layers, allowing each coat to dry slightly before adding more. This helps build volume without overwhelming the lashes, creating clean, defined spikes.
Creating Uneven Spikes
Uneven spikes can ruin the overall look. To avoid this, focus on applying mascara evenly to all your lashes, particularly at the tips. Use a spoolie or lash comb to separate lashes and ensure symmetry. If any spikes appear too long or short, adjust them by adding more mascara to balance the length and texture, ensuring a uniform and defined spiked effect.
Forgetting to Blend False Lashes with Natural Ones
When using false lashes, always blend them seamlessly with your natural lashes. Forgetting to do this creates an obvious line between your real and fake lashes, disrupting the spiked look. After applying false lashes, coat both your natural and false lashes with mascara to blend them together. This step ensures your spikes appear natural and well-integrated, creating a flawless finish.
Conclusion
In conclusion, mastering how to create lash spikes is all about technique and patience. Start with a clean base, build volume with mascara, and focus on creating texture at the tips for those bold spikes. Avoid common mistakes like overapplying mascara or creating uneven spikes.
Blend false lashes with your natural ones for a seamless look. Now that you know the steps, it’s time to create your perfect lash spikes. Ready to try it yourself? Let’s get spiking today!
FAQ
How to make lash extension spikes?
To create lash extension spikes, focus on applying extensions to the tips of your natural lashes. Use a longer length for the outer corners and shorter extensions closer to the center for a more dramatic effect. Apply a fine layer of lash glue and use a back-and-forth motion to build texture. Separate lashes with a spoolie to prevent clumping and ensure the spikes stand out evenly.
What are spike lash extensions?
Spike lash extensions are a specific type of lash extension that creates a spiked, textured look. These extensions are typically longer and more voluminous at the tips, giving your lashes a dramatic, pointy effect. They are often used for dramatic makeup looks and are applied strategically to mimic the appearance of lash spikes, enhancing the overall eye shape and adding boldness to the lash line.
Can you use classic lashes as spikes?
Yes, you can use classic lashes to create spikes, though they won’t have the same dramatic effect as volume lashes. To create spikes with classic lashes, choose slightly longer extensions and place them selectively at the tips of your natural lashes. Add mascara to the tips after application to enhance the spiked look. While classic lashes can give a softer version of the spike effect, volume or spike lashes create a more defined look.
What curl to use for lash spikes?
For lash spikes, a D or L curl works best. These curls are more dramatic and give your lashes a straight or angled lift, which enhances the spiky effect. The D curl offers a sharp lift, while the L curl provides a more angular look that accentuates the spike shape. These curls create a bold contrast at the tips of the lashes, making them ideal for dramatic, textured lash spikes.
What diameter should lash spikes be?
For lash spikes, the diameter typically ranges between 0.15mm to 0.20mm, depending on the desired intensity and effect.
- 0.15mm: This is a standard diameter that provides a natural yet defined spike without being too thick. It’s ideal for creating subtle spikes with a more natural look.
- 0.20mm: This thicker diameter is perfect for bolder, more dramatic spikes. It adds extra volume and density to the lash tips, making the spikes stand out more prominently.
Lash spikes should have a slightly thicker diameter than the rest of the lashes to make the tips stand out without weighing down the natural lashes.
