![]()
With the increase in eyelash styles, more beauty lovers are starting to DIY their own eyelashes at home, among which Cluster Eyelashes are the most popular. So, how to apply cluster eyelashes?
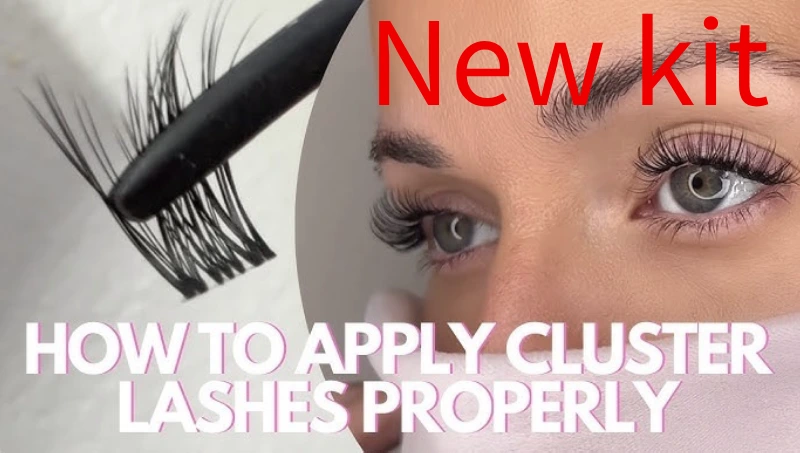
What is Cluster Eyelashes Kit
A DIY cluster eyelashes kit is a collection of tools and materials specifically designed to allow individuals to create, customize, and apply their own cluster lashes at home. These kits typically include everything needed for the process, making it convenient and accessible for both beginners and those who are experienced with applying false eyelashes. Here’s a breakdown of what a typical DIY cluster eyelashes kit includes, what to look for, and tips for use.
Components of a DIY Cluster Eyelashes Kit
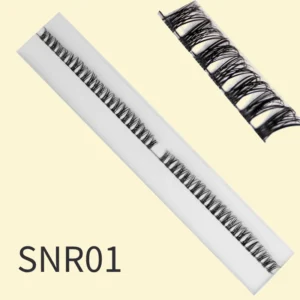
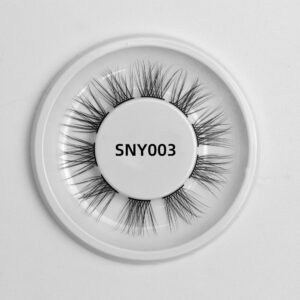
Cluster Lashes:
The kit will include various styles of cluster lashes. These are usually made up of groups of individual lashes bonded at the base, available in different lengths and thicknesses for customization.
Adhesive:
A high-quality eyelash adhesive that is safe for use around the eyes. Some kits may provide both a bonding agent and a sealant to secure the lashes and ensure longevity.
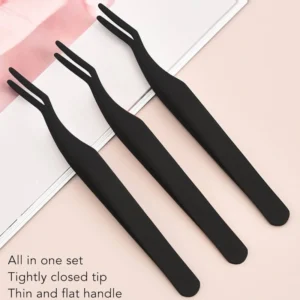
Tweezers:
Precision tweezers for picking up and placing the lash clusters accurately on your natural lash line.
Lash Applicator Tool:
Tweezers, bond, removal
Small Tray or Palette:
A sectioned tray or palette to organize the clusters while you work, making it easier to grab and apply them.
Remover:
A gentle adhesive remover specifically formulated to remove lash adhesive without damaging natural lashes.
Instructions/Guide:
Many kits come with step-by-step instructions or guides to help users understand how to apply the lashes effectively and safely.
Makeup Accessories:
Some kits may include additional tools such as scissors for trimming lashes, an eyelash comb or brush for blending, and application pads or eye gels for comfort during the process.
How to Apply Cluster Eyelashes
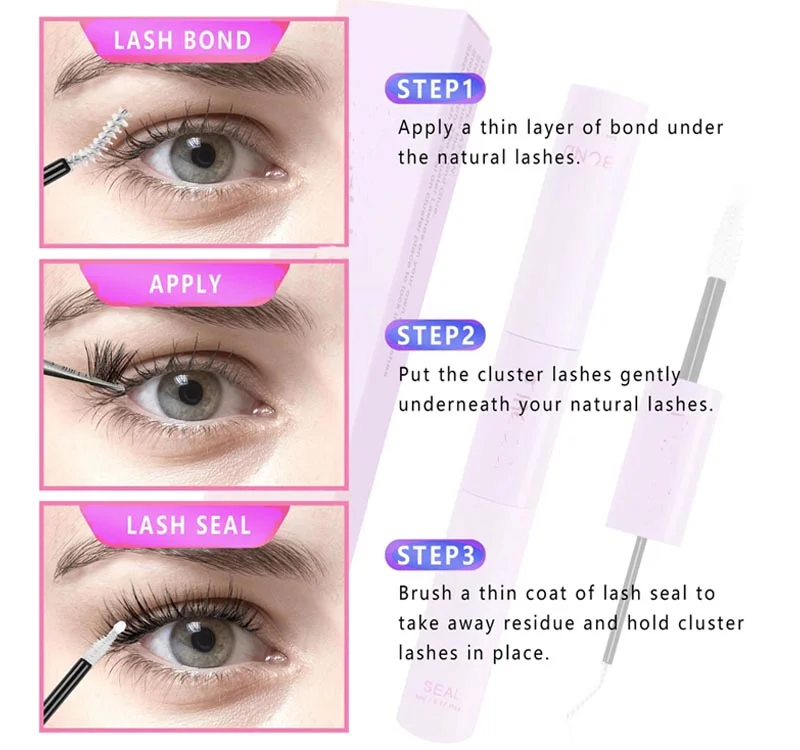
Materials Needed
Cluster lashes (e.g., heymebeauty brand)
Bond and seal (glue) from the same brand
Lash applicator (optional, but helpful)
Steps to Apply Cluster Lashes
1. Preparation:
Choose your cluster lashes. you can uses various sizes from 8 mm to 16 mm.
Lay out the lashes on a clean surface to make application easier.
2. Applying the Bond:
Apply the bond (glue) to your natural lashes as if applying mascara, ensuring an even layer.
Use a fair amount of bond to secure the lashes effectively.
3. Choosing and Placing the Lashes:
Use a pair of tweezers or a lash applicator to pick up the cluster lashes from the middle or end, avoiding damage.
Start with the desired length of lashes (e.g., 16 mm) and place it slightly above your natural lash line to avoid irritation.
Overlap the next cluster slightly to achieve a natural look.
4. Building Up Layers:
Continue applying clusters in descending lengths (e.g., 16 mm, 14 mm, 12 mm, 10 mm).
For shorter clusters, apply additional bond directly to the lash before placement if needed.
5. Sealing the Lashes:
After all clusters are applied, use the sealer on the areas where the bond is visible. Dab it lightly to avoid a messy look.
Avoid applying too much sealer at the ends to keep the look natural.
6. Finishing Touches:
Allow the lashes to dry fully before squeezing them together gently. Wait at least a day to avoid lifting them off too soon.
Feel free to clean up any glue mess on your eyelids with a gentle remover.
FAQ
What is a DIY cluster eyelashes kit?
A DIY cluster eyelashes kit typically includes clusters of false eyelashes, an adhesive glue, tweezers, and sometimes a remover or instructions. These kits allow you to customize your lash look at home, offering a blend of volume and length.
What do I need for a DIY cluster eyelashes application?
In addition to the kit, you may need:
Tweezers: For precise application.
Small scissors: To trim the clusters if necessary.
Mirror: A small, handheld mirror can help with precision.
Eyelash curler: Optional, for curling your natural lashes before application.
Mascara: Optional, for blending natural lashes with clusters.
Eye makeup remover: To clean the area before and after application.
How do I prepare my lashes for application?
Start with clean lashes: Remove any makeup, oils, or residue from your eyelids and lashes.
Curl your natural lashes: This step is optional but can help create a seamless blend with the clusters.
Optional mascara application: Apply a light coat of mascara to your natural lashes for better blending.
How do I apply DIY cluster eyelashes?
Select the cluster: Use tweezers to pick up the desired cluster.
Apply adhesive: Dip the base of the cluster into the glue, ensuring it’s evenly coated. Wait a few seconds for it to become tacky.
Position the cluster: Carefully place the cluster near your natural lash line, starting from the outer corner or center of your eye.
Press and secure: Gently press down and hold for a few seconds to ensure it adheres well.
Repeat: Continue applying clusters across your lash line until you achieve your desired look.
Final touches: Once all clusters are on, you can use a little mascara to blend your natural lashes with the clusters.
Can I customize the length or volume of the clusters?
Yes! Most DIY cluster eyelash kits come with different lengths and styles of clusters to allow for customization. You can mix and match lengths across your eyelids for a more natural gradient effect.
How long do the DIY cluster eyelashes last?
With good application and care, DIY cluster eyelashes can last a full day. If you use a semi-permanent adhesive, they may last for several days to a week. Always refer to the adhesive’s instructions for the best results.
Are DIY cluster eyelashes reusable?
Yes, you can reuse clusters if they are properly cleaned after use. Remove any excess glue and clean them gently with mild soap and water. Allow them to dry completely before storing.
How do I safely remove DIY cluster eyelashes?
To remove the clusters:
Use an oil-based makeup remover or adhesive remover.
Soak a cotton pad in the remover and place it on the clusters for a few seconds.
Gently pull the cluster off, starting from the outer corner to prevent damage to your natural lashes.
Clean any leftover adhesive on your natural lashes.
What if the adhesive irritates my skin?
If you experience irritation, remove the clusters immediately and clean the area with mild soap and water. You may want to try a hypoallergenic eyelash glue or consult with a dermatologist if you have sensitive skin.
Conclusion
DIY cluster eyelashes kits are a fantastic way to enhance your eye makeup and achieve a salon-quality lash look from the comfort of your own home. With their customizable volume and length options, these kits allow you to create a stunning, personalized look that suits any occasion, from everyday wear to special events.
By following the simple steps for preparation, application, and care, you can enjoy the benefits of fuller and more dramatic lashes without the hassle of professional application. The ability to reuse the clusters also makes them a cost-effective option for those who love to switch up their style frequently.
