![]()
DIY lash extensions can be a fun and affordable way to enhance your natural lashes. However, one common question arises: How long do they last?
In this post, we’ll examine the factors that influence the lifespan of DIY lash extensions and provide tips for maximizing their longevity.
DIY lash extensions have become popular as an affordable and accessible beauty solution. Unlike salon treatments, DIY lash extensions allow individuals to apply and maintain their lashes at home.
This article explores the details of how long DIY lash extensions last, providing insights into their application, maintenance, and removal processes.
What Are DIY Lash Extensions?
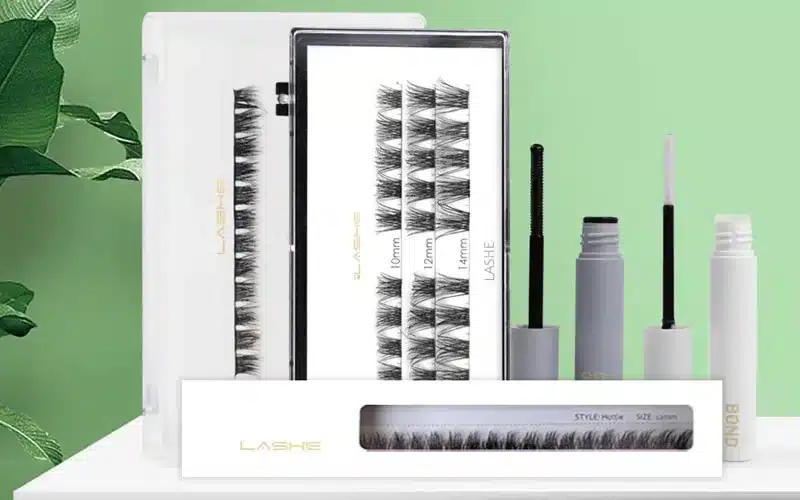
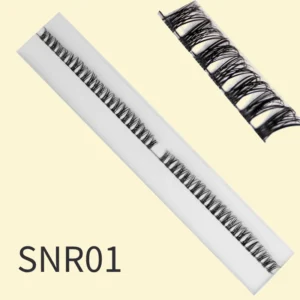
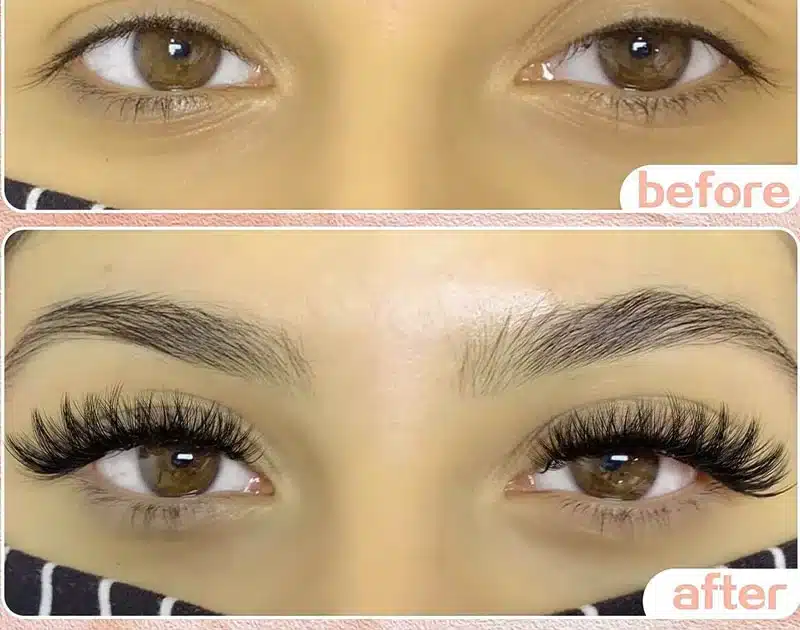
DIY lash extensions are artificial lashes that can be applied at home without professional assistance. They are designed to enhance the length, volume, and curl of natural eyelashes, providing a more dramatic look.
Benefits of DIY Lash Extensions
- Cost-Effective: DIY lash extensions are significantly cheaper than professional salon treatments.
- Convenient: They can be applied at home, saving time and effort.
- Customizable: Individuals can choose the length, volume, and style of lashes to suit their preferences.
Common Materials Used in DIY Lash Extensions
When it comes to DIY lash extensions, the materials used play a significant role in their appearance, comfort, and durability. Here are the most common materials you’ll encounter:
1. Synthetic Fibers (PBT)
- Most Popular: PBT (Polybutylene Terephthalate) is the most widely used material for lash extensions.
- Benefits: It’s lightweight, durable, and can be molded to mimic the look of natural lashes.
- Versatility: PBT can be designed to look like mink, silk, or even a more dramatic, spiky style.
2. Mink Fur
- Luxurious Look: Real mink fur lashes offer a soft, natural look and feel.
- Ethical Considerations: The use of real mink fur raises ethical concerns about animal welfare.
- Cost: Real mink lashes are typically more expensive than synthetic options.
3. Faux Mink
- Cruelty-Free Alternative: Faux mink lashes are made from synthetic fibers designed to mimic the look and feel of real mink.
- Affordability: They are more affordable than real mink lashes.
- Durability: Faux mink lashes are durable and can last for several weeks with proper care.
4. Silk
- Soft and Natural: Silk lashes offer a soft, natural look and feel.
- Delicate: Silk lashes can be more delicate than other materials and may require more careful handling.
When choosing materials for your DIY lash extensions, consider the following factors:
- Your Desired Look: Do you want a natural, subtle look or a more dramatic, glamorous look?
- Your Budget: Real mink lashes are more expensive than synthetic options.
- Your Ethical Concerns: If you prefer cruelty-free options, choose synthetic or faux mink lashes.
- Your Skill Level: Some materials may be more challenging to apply than others.
By understanding the different materials available, you can make an informed decision and achieve the perfect lash look.
How Long Do Lash Extensions Last
Lash extensions typically last around six weeks.
Here’s why:
- Natural Lash Growth Cycle: Extensions are attached to your natural lashes. As your natural lashes go through their growth cycle (new growth, shedding), the extensions will fall out with them.
- Individual Variation: The exact lifespan can vary depending on factors like:
- Your natural lash growth cycle: Some people’s lashes grow faster than others.
- The type of extensions: Different materials and techniques can affect longevity.
- Aftercare: Proper care (avoiding oil-based products, gentle cleansing) can extend the life of your extensions.
To maintain the look:
- Fillers: Most people get “fillers” every 2-3 weeks to replace fallen-out extensions and maintain fullness.
How Long Do DIY Lash Extensions Last?
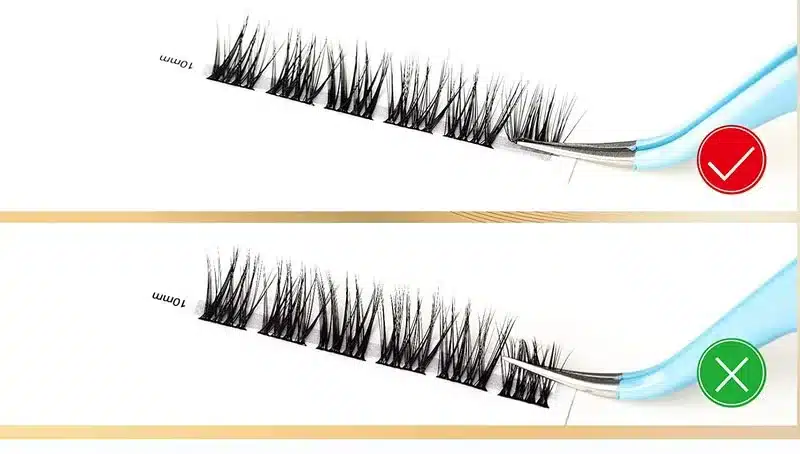
Typically, DIY lash extensions can last anywhere from 2 to 4 weeks. However, this can vary depending on several factors:
- Quality of Products: High-quality adhesive and lashes tend to last longer.
- Application Technique: Proper application can significantly extend the lifespan.
- Natural Lash Cycle: As your natural lashes shed, the extensions attached to them will fall out.
- Care Routine: Gentle care and avoiding harsh products can help maintain the extensions.
To maximize the lifespan of your DIY lash extensions, follow these tips:
- Avoid Oil-Based Products: Oil can weaken the adhesive bond, causing premature shedding.
- Be Gentle: Avoid rubbing your eyes or pulling on the extensions.
- Cleanse Regularly: Use a gentle, oil-free cleanser to remove dirt and debris.
- Avoid Water Exposure: Limit exposure to water, especially hot water, as it can weaken the adhesive.
By following these guidelines, you can enjoy your DIY lash extensions for a longer period.
DIY Lash Extensions That Last a Week
While DIY lash extensions can be a fun and creative way to enhance your look, it’s important to manage expectations. DIY lash extensions typically last around 2-4 weeks, depending on factors like application technique, aftercare, and individual lash health.
To maximize the lifespan of your DIY lash extensions, consider these tips:
- High-Quality Products: Use high-quality adhesive and lashes to ensure a strong bond and long-lasting results.
- Proper Application: Follow detailed instructions and use precise techniques to avoid damaging your natural lashes.
- Gentle Aftercare: Avoid rubbing your eyes, using oil-based products, and sleeping face down.
- Regular Maintenance: Brush your lashes gently each morning and evening to keep them separated and prevent tangling.
Remember, DIY lash extensions may not last as long as professional applications. If you’re looking for a longer-lasting solution, consider consulting a professional lash technician.
How Long Do Lash Extensions Last Before a Fill
Lash extensions typically last around two weeks before needing a fill.
Here’s why:
- Natural Lash Shedding: You naturally shed about 20% of your eyelashes every two weeks. As your natural lashes fall out, the extensions attached to them will also fall out.
Important Note: This is an average. Some people may need fills sooner or later depending on their individual lash growth cycle and aftercare.
Factors Affecting the Longevity of DIY Lash Extensions
The lifespan of your DIY lash extensions can be influenced by various factors. Here’s a detailed breakdown:
1. Quality of Products:
- Adhesive: A strong, long-lasting adhesive is crucial. Low-quality adhesives may weaken over time, leading to premature shedding.
- Lash Material: High-quality synthetic lashes are more durable and resistant to damage.
2. Application Technique:
- Isolation: Properly isolating each individual natural lash is essential. Poor isolation can lead to clumping and premature shedding.
- Adhesive Application: The amount and placement of adhesive can significantly impact the lifespan. Too much adhesive can weigh down the lashes, while too little may not provide adequate hold.
3. Natural Lash Cycle:
- Your natural lashes go through a growth cycle, shedding and regrowing. As your natural lashes shed, the extensions attached to them will fall out. This is a natural process and cannot be completely prevented.
4. Care Routine:
- Gentle Cleansing: Use a gentle, oil-free cleanser to clean your lashes daily.
- Avoid Rubbing: Avoid rubbing your eyes or pulling on the extensions.
- Limit Water Exposure: Excessive water exposure can weaken the adhesive bond.
- Avoid Oil-Based Products: Oil can dissolve the adhesive, causing the extensions to fall off.
- Sleep Position: Sleeping on your side or stomach can put stress on your lashes, so try to sleep on your back.
Tips for Extending the Lifespan of DIY Lash Extensions:
- Choose the Right Length and Curl: Opt for shorter lengths and less dramatic curls, as they tend to last longer.
- Avoid Excessive Heat: Limit exposure to heat sources like saunas, steam rooms, and hot showers.
- Regularly Brush Your Lashes: Use a clean spoolie brush to gently detangle your lashes and remove debris.
- Consider a Lash Serum: A lash serum can help strengthen your natural lashes and promote growth.
- Professional Removal: When it’s time to remove the extensions, seek professional help to avoid damaging your natural lashes.
By understanding these factors and following these tips, you can significantly extend the lifespan of your DIY lash extensions and enjoy a beautiful, long-lasting look.
Average Lifespan of DIY Lash Extensions
On average, DIY lash extensions last between 2 to 3 weeks. With meticulous care, they can sometimes last up to 4 weeks before needing a touch-up or replacement.
How to Apply DIY Lash Extensions
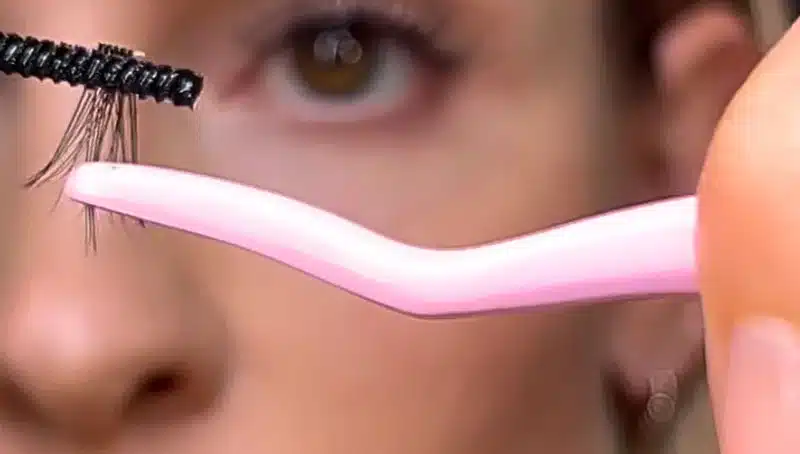
Step-by-Step Guide to Applying DIY Lash Extensions
- Prepare Your Lashes: Clean your natural lashes to remove any oils or makeup.
- Select Your Lashes: Choose the type and style of lash extensions you prefer.
- Apply Adhesive: Use a small amount of adhesive on the lash band.
- Attach the Lashes: Carefully place the lash extension close to your natural lash line and press gently.
- Adjust as Needed: Use tweezers to adjust the lashes for a natural look.
Tools and Materials Needed for Application
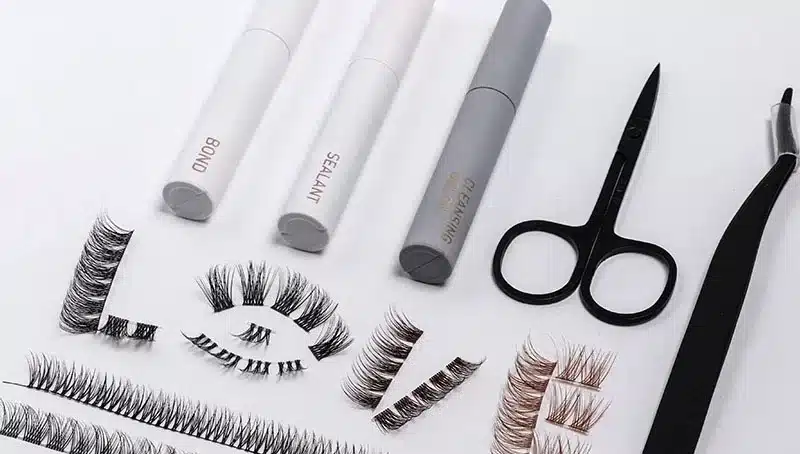
- Lash extensions
- Lash adhesive
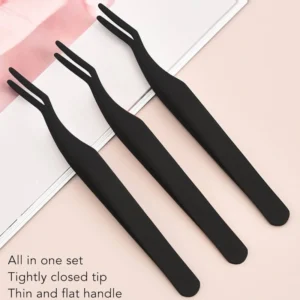
- Tweezers
- Lash bond
Tips for a Successful Application
- Ensure your hands are clean before starting.
- Work in a well-lit area for precision.
- Be patient and take your time to avoid mistakes.
How to Clean DIY Lash Extensions
Importance of Cleaning DIY Lash Extensions
Cleaning your lash extensions is crucial for maintaining their appearance and longevity. It also helps prevent eye infections and irritation.
Step-by-Step Guide to Cleaning DIY Lash Extensions
- Remove Makeup: Use a gentle, oil-free makeup remover.
- Clean the Lashes: Use a lash cleanser or mild baby shampoo diluted with water.
- Rinse and Dry: Rinse with lukewarm water and pat dry with a soft cloth.
- Brush the Lashes: Use a clean spoolie brush to keep the lashes in shape.
Recommended Products for Cleaning
- Oil-free makeup remover
- Lash cleanser
- Baby shampoo (diluted)
How to Remove DIY Lash Extensions
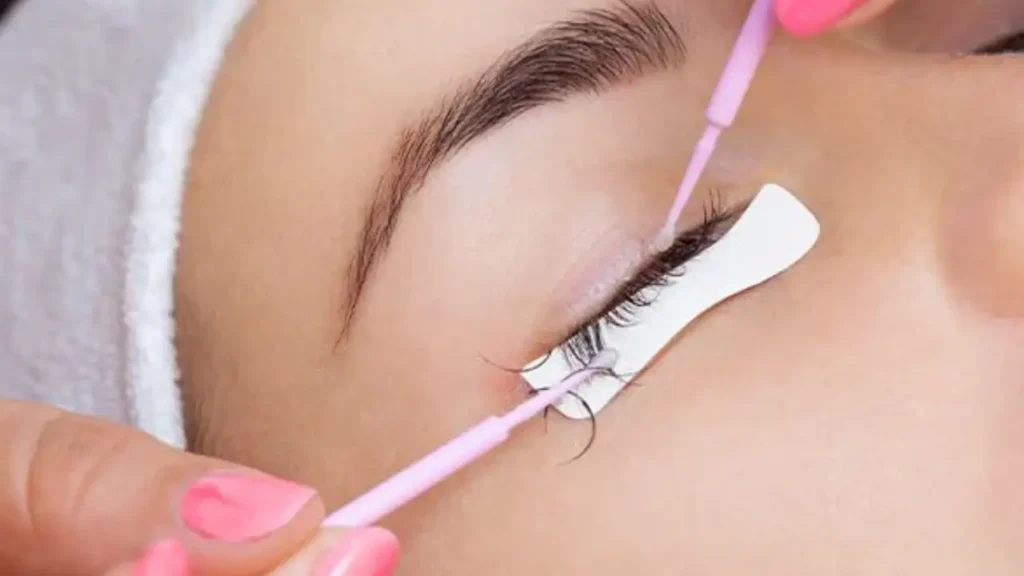
How to Remove DIY Lash Extensions Safely
It’s important to remove DIY lash extensions carefully to avoid damaging your natural lashes. Here’s a step-by-step guide:
Materials Needed:
- Oil-based makeup remover: Products like coconut oil or baby oil work well.
- Cotton pads or swabs
- Spoolie brush
Steps to remove your DIY lash extensions safely in the following:
1. Warm Compress:
- Warm a clean washcloth with hot water.
- Gently place the warm compress over your closed eyes for a few minutes. This helps soften the adhesive.
2. Apply Oil:
- Dip a cotton pad or swab in the oil-based makeup remover.
- Gently apply the oil to the base of each lash extension.
3. Gently Wiggle:
- Use a spoolie brush to gently wiggle the base of each extension. This helps loosen the adhesive bond.
4. Slide Off:
- Once the adhesive is loosened, you should be able to gently slide the extension off your natural lash. Avoid pulling or tugging.
Additional Tips:
- Patience is Key: Don’t rush the process. If an extension is stubborn, leave it for a few minutes and try again.
- Avoid Water: Water can harden the adhesive, making removal more difficult.
- Professional Removal: If you’re struggling to remove the extensions or are concerned about damaging your natural lashes, consider seeking professional help from a licensed lash technician.
Remember: Always be gentle during the removal process to prevent damage to your natural lashes.
Conclusion
The lifespan of DIY lash extensions can vary depending on several factors, including the quality of the products, your natural lash cycle, and your care routine. By following these tips and using high-quality products, you can extend the life of your DIY lash extensions and enjoy a beautiful, long-lasting look.
Ready to elevate your lash game? Shop our collection of premium DIY lash extensions now and experience the difference.
Our high-quality products are designed to give you stunning, long-lasting results. Don’t wait, order yours today!

