![]()
In recent years, the beauty industry has seen a shift towards more accessible and cost-effective options for lash extensions. One of the most popular trends is the Do It Yourself Lash Extension Kits, which offer individuals the chance to achieve professional-looking lashes at home. This guide will walk you through everything you need to know about these kits, from choosing the right one to applying and maintaining your extensions.
What Are Do It Yourself Lash Extension Kits?
Definition and Overview
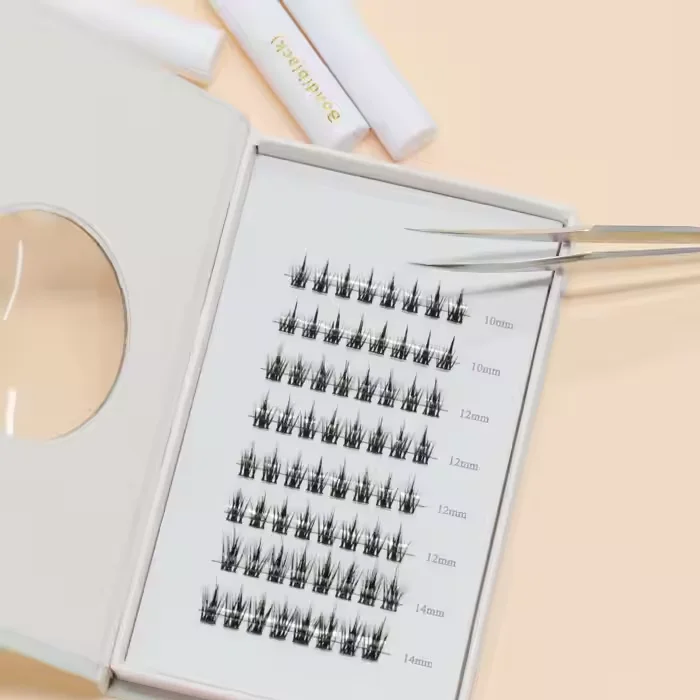
Do It Yourself (DIY) Lash Extension Kits are specialized beauty products designed for at-home use, allowing individuals to apply semi-permanent extensions to their natural lashes without professional assistance. These kits typically contain the necessary tools and materials for a complete lash application, including lashes, adhesive glue, tweezers, and sometimes a primer or lash sealant.
Types of Lash Extensions in Kits
DIY lash extension kits come in various forms, catering to different styles and preferences. Common types of lashes included in kits are:
- Individual Lashes: These are individual extensions that are glued to each natural lash one by one. They offer a more customizable look, providing the option to create a full set or add volume to specific areas.
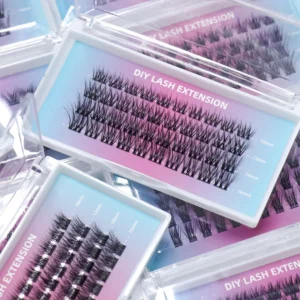
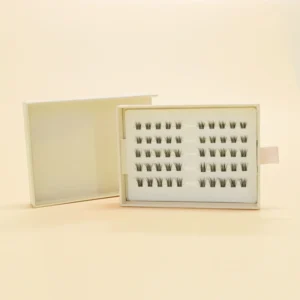
- Cluster Lashes: These are small groups of lashes attached together, typically for a quicker, fuller look. They are ideal for beginners who want a fast and easy application.
Key Components of a DIY Lash Extension Kit
A typical DIY lash extension kit includes the following:
- Lashes: Either individual or clusters, made from materials like mink, synthetic, or silk.
- Glue: A strong adhesive specifically designed for use on lashes.
- Tweezers: Precision tweezers are used to handle and place the lashes.
- Primer and Sealant: Some kits come with a primer to prep the natural lashes and a sealant to prolong the lash life.
Why Choose DIY Lash Extension Kits?
Cost Efficiency vs. Salon Visits
Salon lash extensions can cost anywhere from $100 to $300 or more per session, especially when considering touch-ups every few weeks. DIY kits, on the other hand, offer a more budget-friendly solution, with many kits priced under $50. While a DIY kit may not deliver salon-level results at first, it is an affordable option for those on a budget.
Convenience and Flexibility
DIY lash extension kits allow for greater flexibility. You can apply your lashes in the comfort of your home at a time that fits your schedule. No need to make an appointment or take time off work. This makes them perfect for those with busy lifestyles who want to skip the salon visit.
Customization Options
Another reason to choose DIY lash kits is the ability to customize the lashes according to your preferences. You can choose different lengths, styles, and volumes, allowing you to create a tailored look that suits your eye shape and desired outcome.
What You Need to Know Before Using a DIY Lash Extension Kit
Assessing Your Lash Health
Before starting your DIY lash extension journey, it’s crucial to assess the health of your natural lashes. Applying extensions to weak, damaged, or sparse lashes can result in further damage or ineffective results.
Signs of Healthy Lashes
Healthy lashes are thick, long, and strong. If your lashes appear brittle or thin, it may be a good idea to focus on nourishing them with lash serums before attempting extensions.
Signs of Damage to Avoid
If you notice significant lash shedding, irritation, or damage from previous eyelash extensions, you should avoid applying more extensions until your lashes have fully recovered.
Understanding Lash Types
Not all lashes are created equal, and choosing the right type for your natural lashes is important for achieving a natural look.
- Natural Lashes: These lashes are shorter and lighter in appearance, ideal for those seeking a subtle enhancement.
- False Lashes: These are typically fuller and longer, designed to create a more dramatic look.
When choosing a kit, be mindful of the lash type that best matches your natural lash density and length. If you’re new to lash extensions, you may want to start with more natural-looking options.
Selecting the Right Kit for Your Needs
Selecting the best DIY lash extension kit comes down to several factors:
- Kit Features: Look for kits that include all the essential tools, including a high-quality adhesive and a variety of lashes.
- Eye Shape: Choose a kit that offers lashes suitable for your eye shape, whether you have almond, round, or hooded eyes.
- Glue: The adhesive is one of the most important components. Choose a kit with a strong, long-lasting glue that is safe for sensitive eyes.
Step-by-Step Guide to Applying DIY Lash Extensions
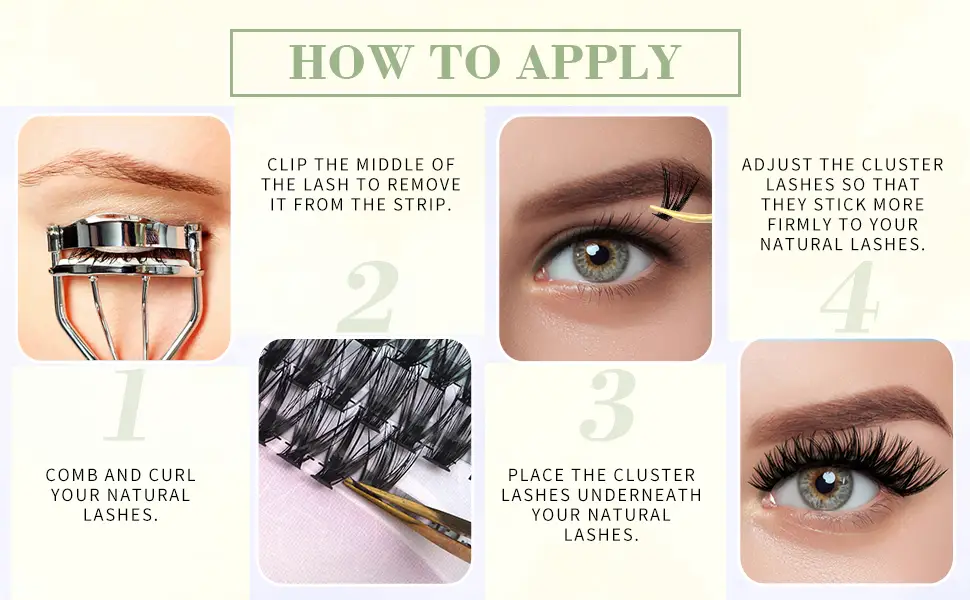
Preparation and Tools Required
Before diving into the application, ensure you have all the necessary tools and take the following preparation steps:
- Cleanse your face and lashes: Use a gentle cleanser to remove any makeup, oil, or residue from your lashes. This ensures the glue adheres properly.
- Prepare your tools: Gather your lash extensions, glue, tweezers, and any other items in the kit.
How to Apply Lashes Using the Kit
Follow these steps for a flawless DIY lash application:
- Apply a primer (optional): If your kit includes a primer, use it to remove any excess oil from your natural lashes.
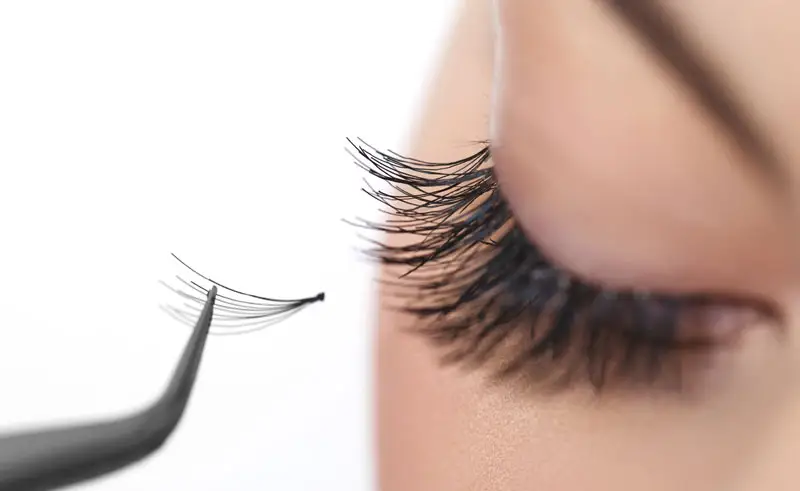
- Place the lashes: Using tweezers, pick up one lash or cluster and dip the base into the glue. Carefully place the extension on your natural lash, close to the root.
- Repeat the process: Work your way from the outer corner of your eye to the inner corner, placing lashes one at a time.
- Adjust the lashes: Use tweezers to ensure the extensions are sitting correctly, making any adjustments as needed.
Common Mistakes to Avoid
- Overloading with Glue: Too much glue can cause clumping and discomfort. A thin layer is sufficient for a secure bond.
- Incorrect Lash Placement: Avoid placing the lashes on the skin, as this will cause them to fall off prematurely.
- Neglecting Lash Care: After application, be sure to care for your lashes to prolong their lifespan.
Maintenance and Aftercare for DIY Lash Extensions
How to Care for Your Lashes After Application
Maintaining your DIY lash extensions is essential to ensuring they last as long as possible.
- Clean your lashes: Gently clean your lashes every few days using a lash cleanser or mild soap.
- Brush your lashes: Use a clean spoolie to brush through the lashes, ensuring they don’t become tangled.
- Avoid oil-based products: Oil-based makeup removers or cleansers can break down the glue, causing the extensions to fall off.
Tips for Long-Lasting Lashes
- Sleep on your back: To prevent lashes from being crushed, try sleeping on your back and avoid rubbing your eyes.
- Avoid excessive moisture: Excessive sweating, steam, or moisture can weaken the adhesive.
Common Aftercare Mistakes
- Using harsh products: Avoid products containing alcohol or oil, as they can dissolve the glue.
- Not replacing lashes: DIY lash extensions are not meant to last forever. When lashes start to look sparse, it’s time to replace them.
Troubleshooting Common DIY Lash Extension Issues
What to Do if Lashes Start Falling Off
If your lashes start falling off prematurely, try applying a stronger adhesive or adjust your technique to ensure proper placement.
Handling Allergic Reactions to Glue
Some individuals may be allergic to the glue. If irritation occurs, remove the lashes immediately and consult with a dermatologist or optometrist.
Correcting Uneven Lash Lines
If your lashes look uneven, remove them carefully and try again, making sure to place each lash at the root of the natural lash.
Benefits of DIY Lash Extension Kits
- Cost Savings: DIY kits offer significant savings over salon visits, especially for regular touch-ups.
- Customization: You can experiment with different looks, from natural to dramatic, based on your preferences.
- Increased Confidence: Beautiful, long lashes can enhance your overall look and boost your confidence.
What to Look for in a High-Quality DIY Lash Extension Kit
When selecting a kit, consider the following factors to ensure high quality:
- Lash Material: Choose lashes made from premium materials like silk or mink for a more natural look.
- Glue Quality: Ensure the glue is strong, long-lasting, and safe for your eyes.
- Additional Tools: A kit with extra tools like a lash applicator, remover, and primer can be helpful.
DIY Lash Extensions vs. Professional Lash Extensions
Differences in Cost
Salon lash extensions can be much more expensive than DIY kits. Professional services often require regular touch-ups, while DIY kits offer one-time costs.
Time and Effort Comparison
Professional lash extensions take about 1-2 hours for application, while DIY lash extensions can be completed in 30-60 minutes depending on experience.
Results: Professional vs. DIY
While professional extensions generally offer more precision and longevity, DIY kits allow for a more personalized experience.
Popular Brands of DIY Lash Extension Kits
- Lashify: Known for their high-quality materials and easy application.
- Flare: Offers a variety of lash styles and is beginner-friendly.
- Kiss: Affordable and available in most drugstores, suitable for first-time users.
FAQ
Are DIY Lash Extensions Safe for Beginners?
Yes! As long as you follow the instructions carefully and practice, DIY lash extensions are safe for beginners.
How Long Do DIY Lash Extensions Last?
With proper care, DIY lash extensions can last anywhere from 1-3 weeks.
Can You Reuse DIY Lash Extensions?
Yes, but only if they are not damaged. Clean and sanitize them before reapplying.
How Do I Remove DIY Lash Extensions?
To remove the extensions, apply a lash remover solution and gently peel the lashes off. Avoid pulling them.
Can I Wear Makeup with DIY Lash Extensions?
Yes, but avoid using oil-based makeup products, as they can weaken the glue.
How Do I Know Which Lash Extension Kit Is Right for Me?
Consider your natural lash length, desired look, and whether you’re comfortable with individual lashes or clusters. Reading reviews and watching tutorials can also help.
Conclusion
Do It Yourself Lash Extension Kits provide an affordable, convenient, and customizable alternative to professional lash services. Whether you’re a beginner or someone looking to refine your skills, these kits allow you to create beautiful, long-lasting lashes at home. By following the right application techniques, ensuring proper aftercare, and choosing a high-quality kit, you can achieve stunning results.
With the flexibility to experiment with different looks, DIY lash extensions offer a satisfying and cost-effective beauty solution for anyone looking to enhance their lash game.

