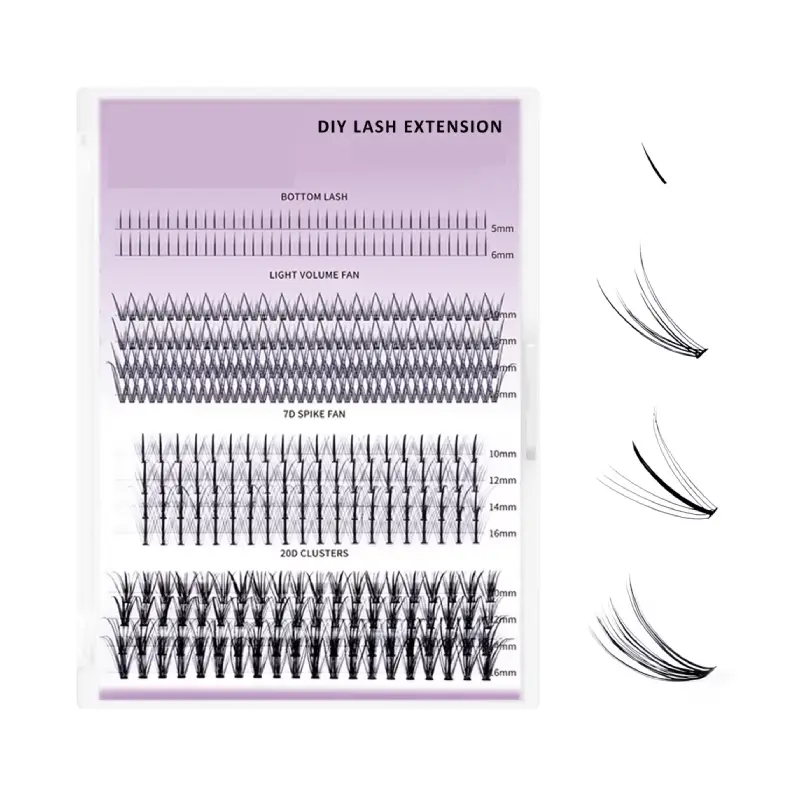
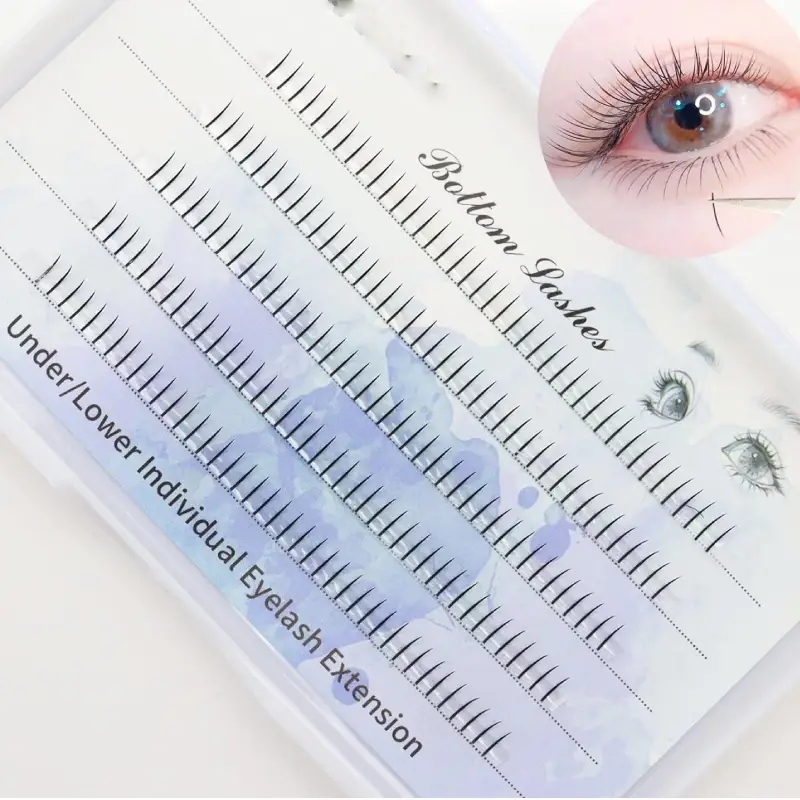
DIY Bottom Lash Extensions
- Start with clean hands and lashes. Wash your hands thoroughly with soap and water before you begin, and gently cleanse your lashes to remove any dirt or makeup.
- Use high-quality products. Invest in good quality lash extensions, adhesive, and tweezers. Cheap products can be more likely to irritate your eyes or damage your lashes.
- Start with a small number of extensions. Don’t try to apply too many extensions at once, especially if you’re a beginner. Start with a few extensions on the outer corners of your eyes and gradually add more as you gain experience.
- Take your time. Rushing the application process can lead to mistakes. Take your time and be patient.
- Be gentle. Avoid pulling on your natural lashes or applying too much pressure when applying the extensions.
- Stop if you experience any irritation. If you experience any discomfort or irritation, remove the extensions immediately and consult a doctor.


Why DIY Bottom Lash Extensions
- Cost-effective: Getting professional DIY lash extensions can be quite expensive, while DIY extensions allow you to save money by doing it yourself.
- Convenience: You can do it at your own pace and time, without having to schedule an appointment.
- Creative freedom: You can experiment with different styles, lengths, and curvatures to achieve your desired look.
- Skill development: Learning how to apply lash extensions can be a fun and rewarding skill to learn.
- Confidence boost: Fuller and longer lashes can enhance your overall appearance and boost your self-confidence.
what are bottom lash extensions?
Bottom lash extensions are a beauty enhancement technique that involves applying individual or small clusters of synthetic eyelash extensions to the lower lash line. This creates a fuller, longer, and more defined look for the lower lashes.
what are benefits of bottom lash extensions?
- Enhanced eye definition: Bottom lash extensions can help to create a more defined and symmetrical lash line, which can make your eyes appear larger and more open.
- Reduced need for mascara: With bottom lash extensions, you may be able to skip mascara altogether, saving you time and effort in your daily makeup routine.
- Low-maintenance beauty: Bottom lash extensions can last for several weeks, so you don’t have to worry about reapplying them every day.
- Customizable look: Bottom lash extensions can be customized to your desired length, curl, and thickness, so you can achieve the perfect look for you.
How to apply DIY bottom lash extensions?
Applying DIY bottom lash extensions can be a bit tricky, especially for beginners. Here are some tips to help you get started:
Gather your supplies:
- Individual lash extensions (you can find these in various lengths and curls)
- Lash adhesive
- Micropore tape
- Tweezers
- Lash applicator (optional)
- Eye makeup remover
- Cotton swabs
Prepare your lashes:
- Cleanse your lashes thoroughly to remove any makeup or residue.
- Apply a small amount of eye makeup remover to a cotton swab and gently wipe your lower lashes.
- Allow your lashes to dry completely before proceeding.
Tape your upper lashes:
- Apply a strip of micropore tape to your upper eyelid, gently lifting your lashes away from your lower lashes. This will help you isolate the lower lashes and prevent accidental glue contact with your upper lashes.
Apply the extensions:
- Dip the tips of your tweezers into the lash adhesive, being careful not to apply too much.
- Pick up an individual lash extension with the tweezers, ensuring it’s free of excess glue.
- Carefully place the lash extension onto your natural lash, as close to the base as possible.
- Repeat this process for each lash, working from the outer corner of your eye inward.
- Be patient and take your time. It may take some practice to get the hang of it.
Tips:
- Use shorter lash extensions for the inner corners and longer ones for the outer corners to create a natural-looking effect.
- Apply a small amount of pressure to the base of the extension to ensure it adheres properly.
- Avoid touching your lashes or rubbing your eyes until the adhesive has fully dried.
- If you make a mistake, gently remove the extension with a lash remover or tweezers.
- Be careful not to apply too much glue, as this can irritate your eyes.
Additional tips:
- If you’re a beginner, consider starting with pre-made lash clusters instead of individual lashes.
- Practice on a lash mannequin or a friend before attempting it on yourself.
- Watch online tutorials for visual guidance.
- If you experience any discomfort or irritation, remove the extensions immediately and consult an eye doctor.
Remember, applying bottom lash extensions takes practice and patience. Don’t get discouraged if it doesn’t go perfectly the first time. With time and practice, you’ll be able to achieve a beautiful and natural-looking result.
