![]()
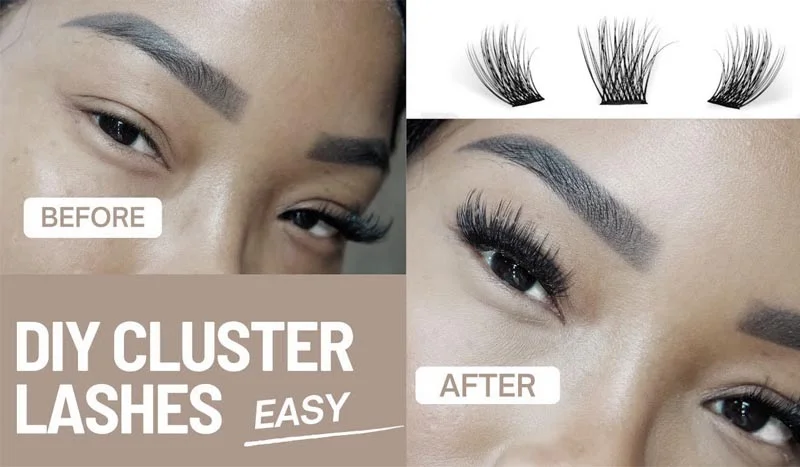
Applying DIY cluster lashes at home is easier than you think—and the results can look just as stunning as a salon set. Whether you’re new to lash extensions or just want to save time and money, learning this skill gives you the freedom to create natural or glam looks whenever you like. In this guide, we’ll walk you through every step of the process—from prep to placement—so you can achieve beautiful, long-lasting lashes with confidence. Ready to master your lash game? Let’s get started.
What Are Cluster Lashes?
Cluster lashes, also known as flare lashes, are small groups of individual lash extensions that are applied together in clusters rather than one by one. These lashes are a popular choice for those seeking a fuller, more voluminous look without the time commitment required for individual lash extensions.

Why Choose DIY Cluster Lashes?
DIY cluster lashes offer a cost-effective and convenient way to enhance your lashes at home. With a little practice, you can achieve a professional-looking result that rivals salon-applied extensions. Whether you’re preparing for a special occasion or simply want to elevate your everyday look, DIY cluster lashes are a versatile option.
Overview of the Application Process
Applying cluster lashes at home might seem daunting at first, but with the right tools and techniques, it becomes a straightforward process. This guide will walk you through each step, from preparation to aftercare, ensuring you achieve a flawless finish.
Preparation: How to Apply Diy Cluster Lashes
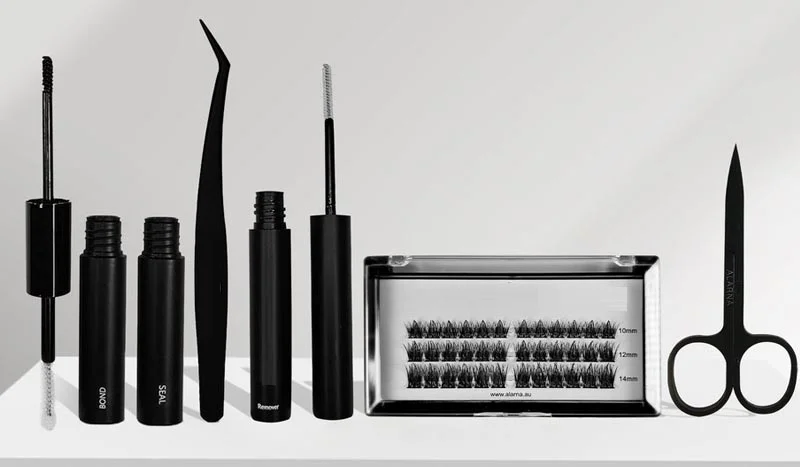
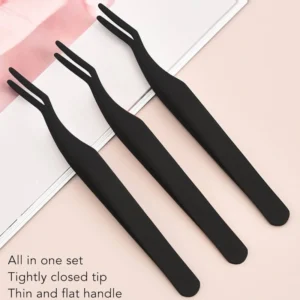
Gathering the Necessary Tools
Before you begin, it’s essential to have all the tools you’ll need within reach. These include:
Having everything prepared will make the application process smoother and more efficient.
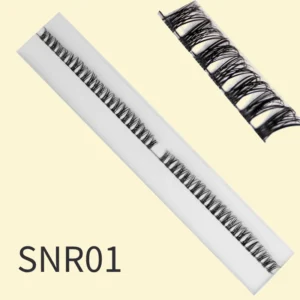
Choosing the Right Lashes
Cluster lashes come in various lengths, thicknesses, and styles. Selecting the right ones depends on the look you want to achieve. For a natural appearance, opt for shorter and finer clusters. If you’re going for a more dramatic look, choose longer and thicker clusters.
Prepping Your Natural Lashes
Clean and dry lashes are crucial for ensuring that the adhesive bonds effectively. Begin by removing any makeup and oils from your natural lashes using a gentle, oil-free cleanser. Follow this with a lash primer to condition your lashes and prepare them for the application.
How to Apply Diy Cluster Lashes Step-by-Step Application Guide
Step 1: Prepare Your Natural Lashes
Start with clean, oil-free lashes. Use a gentle cleanser or lash shampoo to remove any makeup, oil, or residue. Dry thoroughly—this ensures better adhesive grip.
Step 2: Choose Your Clusters
Select cluster lengths and styles based on your desired look—shorter for natural, longer for drama. Arrange them in order (inner to outer corner) on a clean surface for quick access.
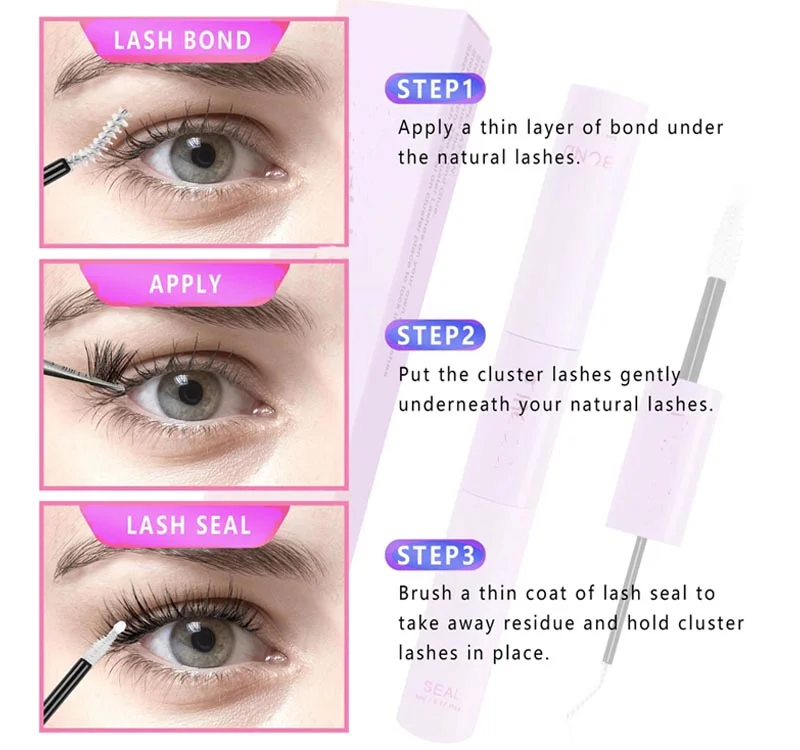
Step 3: Apply Bond or Glue
Use a lash bond or glue specifically designed for DIY cluster lashes. Apply a thin layer directly to the base of your natural lashes (not the eyelid) or the lash cluster base—depending on the glue type. Wait a few seconds for it to get tacky.
Step 4: Place the Clusters
Using tweezers, gently place each cluster under your natural lashes, starting from the outer corner and moving inward. Apply close to the lash line, but never on the skin. Press lightly to secure.
Step 5: Fuse & Adjust
Once all clusters are in place, use a lash applicator or your tweezers to gently press and “fuse” your natural lashes with the clusters. This ensures a seamless, blended look.
Step 6: Apply Sealant (Optional)
To extend wear time, brush a thin layer of sealant over the base of the clusters. This helps lock in the bond and reduce tackiness.
Step 7: Final Touches
Gently brush through your lashes with a clean spoolie. Avoid getting them wet for the first 24 hours, and skip oil-based products to make them last longer.
Why Choose Our DIY Cluster Lashes
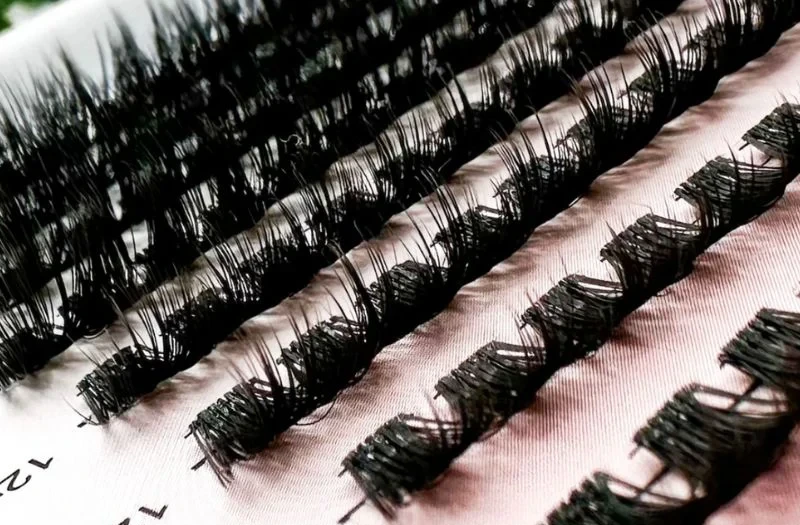
Our DIY Cluster Lashes are designed for real life—lightweight, flexible, and easy enough for beginners, yet professional enough to satisfy beauty lovers and lash techs alike. Whether you want a subtle, natural enhancement or a bold, voluminous look, our clusters offer salon-quality results from the comfort of your home.
We use premium synthetic fibers that mimic the softness and curl of real lashes, with clear, flexible bands that blend seamlessly into your lash line. Each cluster is handcrafted for consistency and comfort, allowing you to customize your lash map with ease.
Unlike other brands, our lash system is beginner-friendly and gentle on natural lashes. The glue dries quickly, holds strong for days, and removes cleanly without damage. Plus, our kits include everything you need—from applicators to bond and sealant—for a complete lash routine.
With our DIY Cluster Lashes, you’re in control. Save time, skip appointments, and enjoy beautiful lashes anytime you want. Trusted by thousands of customers and tested by lash artists, our lashes deliver comfort, style, and confidence—every single time.
Cost Comparison: DIY Cluster Lashes vs. Salon Lash Extensions
| Item | DIY Cluster Lashes | Salon Lash Extensions |
|---|---|---|
| Cost per Application | $20–$30 | $200–¥$300 |
| Application Time | 10–15 minutes | 1.5–2 hours |
| Wear Duration | 3–7 days | 2–4 weeks |
| Flexibility | High, reusable & on demand | Moderate, requires appointment |
FAQs
How long do DIY cluster lashes last?
Depending on the adhesive used and care taken, DIY cluster lashes can last anywhere from a day to a week. For longer wear, use a strong-hold adhesive specifically designed for cluster lashes.
Can I sleep with cluster lashes on?
While it’s possible to sleep with cluster lashes on, it’s not recommended as it can shorten their lifespan and cause them to become misaligned or damaged.
How do I remove cluster lashes?
Gently remove cluster lashes by soaking a cotton pad in an oil-based makeup remover or a specific lash adhesive remover. Hold it against your lashes for a few seconds to loosen the glue, then gently pull the clusters off.
Can I reuse cluster lashes?
Yes, you can reuse cluster lashes if they are in good condition. After removing them, clean off any adhesive residue and store them properly for future use.
What if I’m allergic to lash adhesive?
If you experience any allergic reactions, stop using the adhesive immediately. Look for latex-free or hypoallergenic lash adhesives, and do a patch test before applying.
Conclusion
Recap of Key Steps
Applying DIY cluster lashes can seem challenging, but with the right preparation and technique, it’s entirely achievable. Remember to clean and prime your lashes, apply adhesive carefully, and position each cluster precisely for the best results.
Final Tips and Encouragement
Don’t be discouraged if your first attempt isn’t perfect. Like any beauty skill, applying cluster lashes takes practice. With time, you’ll become more comfortable and efficient, allowing you to enjoy beautiful, full lashes whenever you like.