![]()
Applying lashes at home has become a popular beauty trend, how to apply DIY lashes, is the question. Offering a cost-effective and convenient way to enhance your look. DIY lashes can save time and money, and with practice, anyone can achieve salon-quality results.
Importance of DIY Lashes
DIY lashes allow for personal customization, enabling you to experiment with different styles and lengths. They are particularly beneficial for special occasions, everyday wear, and anyone looking to enhance their natural beauty without frequent salon visits.
Benefits of Applying Lashes at Home
Applying lashes at home provides several advantages, including:
- Cost Savings: Save money on salon visits and expensive professional applications.
- Convenience: Apply lashes at your own pace and schedule, without needing appointments.
- Customization: Tailor the look to your preferences, experimenting with various styles and lengths.
What are DIY Lashes?
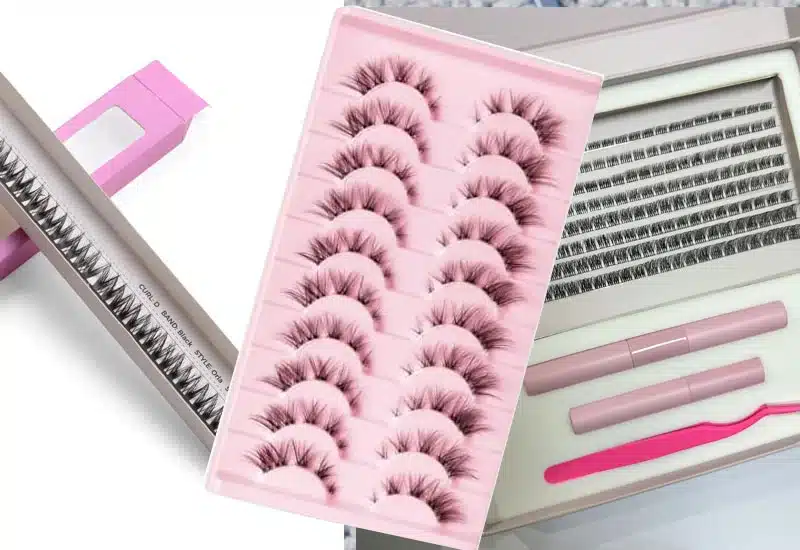
DIY lashes are false eyelashes designed for easy application at home. They come in various forms, including strips, clusters, and individual lashes, allowing for flexibility in achieving different looks.
Types of DIY Lashes
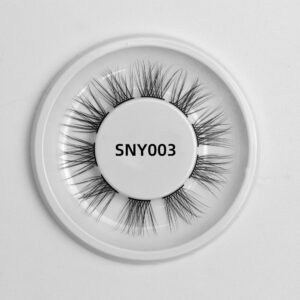
Strip Lashes
Strip lashes are pre-made lash bands that cover the entire lash line. They are ideal for beginners due to their ease of application and instant dramatic effect.
Individual Lashes
Individual lashes are single lash extensions applied one by one. They offer a more natural look and greater customization, suitable for experienced users.
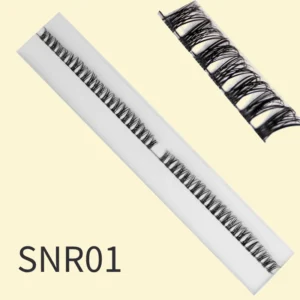
Cluster Lashes
Cluster lashes are small groups of lashes bundled together. They provide a balance between strip and individual lashes, offering a fuller look with easier application than individual lashes.
Choosing the Right Lashes for You
Based on Eye Shape
Selecting the right lashes based on your eye shape can enhance your natural features. For example:
- Round Eyes: Opt for lashes that are longer in the center.
- Almond Eyes: Most lash styles work well with this versatile eye shape.
- Hooded Eyes: Choose lashes with more length in the outer corners.
Based on Occasion
Different occasions call for different lash styles:
- Everyday Wear: Choose natural-looking lashes that add subtle volume.
- Special Events: Go for dramatic, fuller lashes to make a statement.
Based on Skill Level
Beginners should start with strip lashes, while more experienced users can experiment with individual or cluster lashes for a more tailored look.
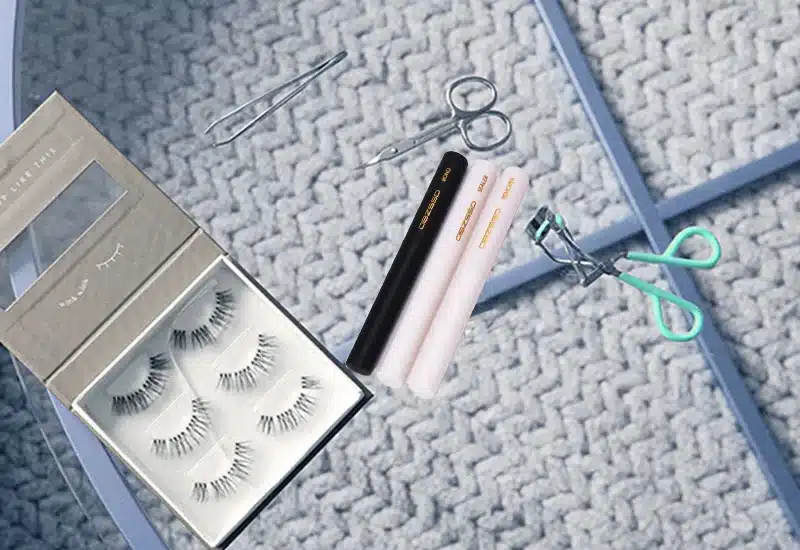
Tools and Materials Needed
Lash Applicators
Lash applicators are specially designed tools that help position and secure false lashes with precision.
Lash Adhesives
Quality lash adhesives are crucial for long-lasting results. Options include clear and dark adhesives, each offering different benefits.
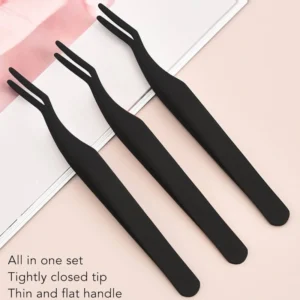
Tweezers
Tweezers aid in the precise placement of individual or cluster lashes, ensuring they are securely attached.
Scissors
Small scissors are necessary for trimming strip lashes to fit your eye shape perfectly.
Lash Curlers
Lash curlers lift and curl natural lashes, helping them blend seamlessly with false lashes.
Mirrors
A magnifying mirror can provide better visibility during application, ensuring accuracy.
Other Useful Tools
Other tools like cotton swabs, lash combs, and makeup remover can assist in the application and removal process.
Preparation Before Applying Lashes
Clean Your Face and Lashes
Start with a clean face and natural lashes to ensure optimal adhesive bonding. Use a gentle cleanser to remove any makeup, oil, or dirt.
Prepare Your Workspace
Set up a well-lit, clean workspace with all your tools and materials within easy reach.
Measure and Trim Lashes
Measure the strip lashes against your eye and trim any excess from the outer corner to fit your eye shape perfectly.
Curl Your Natural Lashes
Use a lash curler to lift and curl your natural lashes, creating a better base for the false lashes to adhere to.
Apply a Thin Line of Eyeliner
Applying a thin line of eyeliner can help hide the lash band and create a more seamless look.
Step-by-Step Guide to Applying Strip DIY Lashes
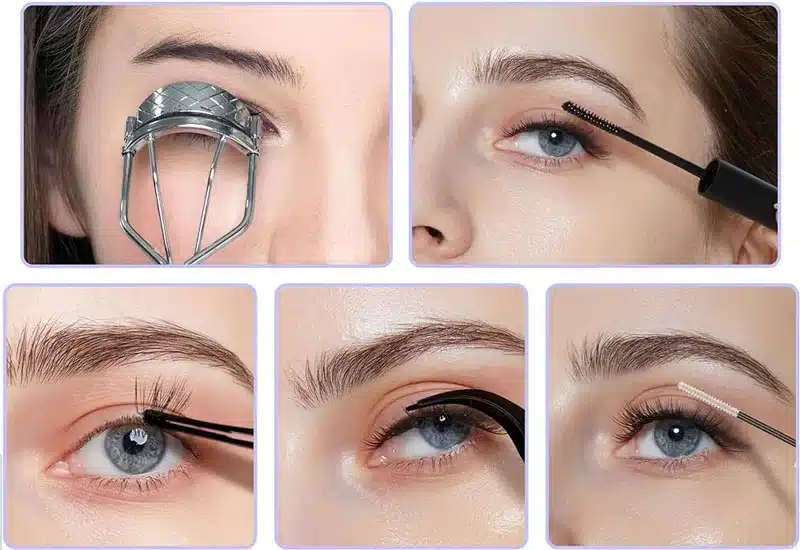
Step 1: Select Cluster Size
Choose the appropriate cluster size for the desired volume and length.
Step 2: Apply Lash Adhesive
Dip the base of each cluster into the adhesive.
Step 3: Position Clusters
Using tweezers, place the clusters along your lash line, starting from the outer corner and working inward.
Step 4: Secure and Adjust
Press down on each cluster to secure it in place and adjust as needed for even spacing and alignment.
Step 5: Final Touches
Finish with a light coat of mascara to blend the clusters with your natural lashes.
Tips for Long-Lasting Lashes
Proper Adhesive Application
Ensure you apply the adhesive evenly and allow it to become tacky before placing the lashes.
Avoiding Excessive Touching
Avoid touching or rubbing your eyes to prevent dislodging the lashes.
Cleaning and Maintenance
Clean your lashes regularly and store them properly to maintain their shape and longevity.
Conclusion
In conclusion, mastering the art of applying DIY lashes involves understanding your eye health, choosing the right products, and following proper application techniques. With the information provided in this guide, you can confidently achieve stunning lashes while maintaining eye safety and health.

